Star Ocean: The Second Story R-Lacuer to Hoffman Ruins Walkthrough
Now that we’ve fast-traveled to Lacuer City, we’ll immediately be stopped by the guard and informed that we need to take refuge in the castle as monsters have just attacked the kingdom of Ell and are on their way to us.
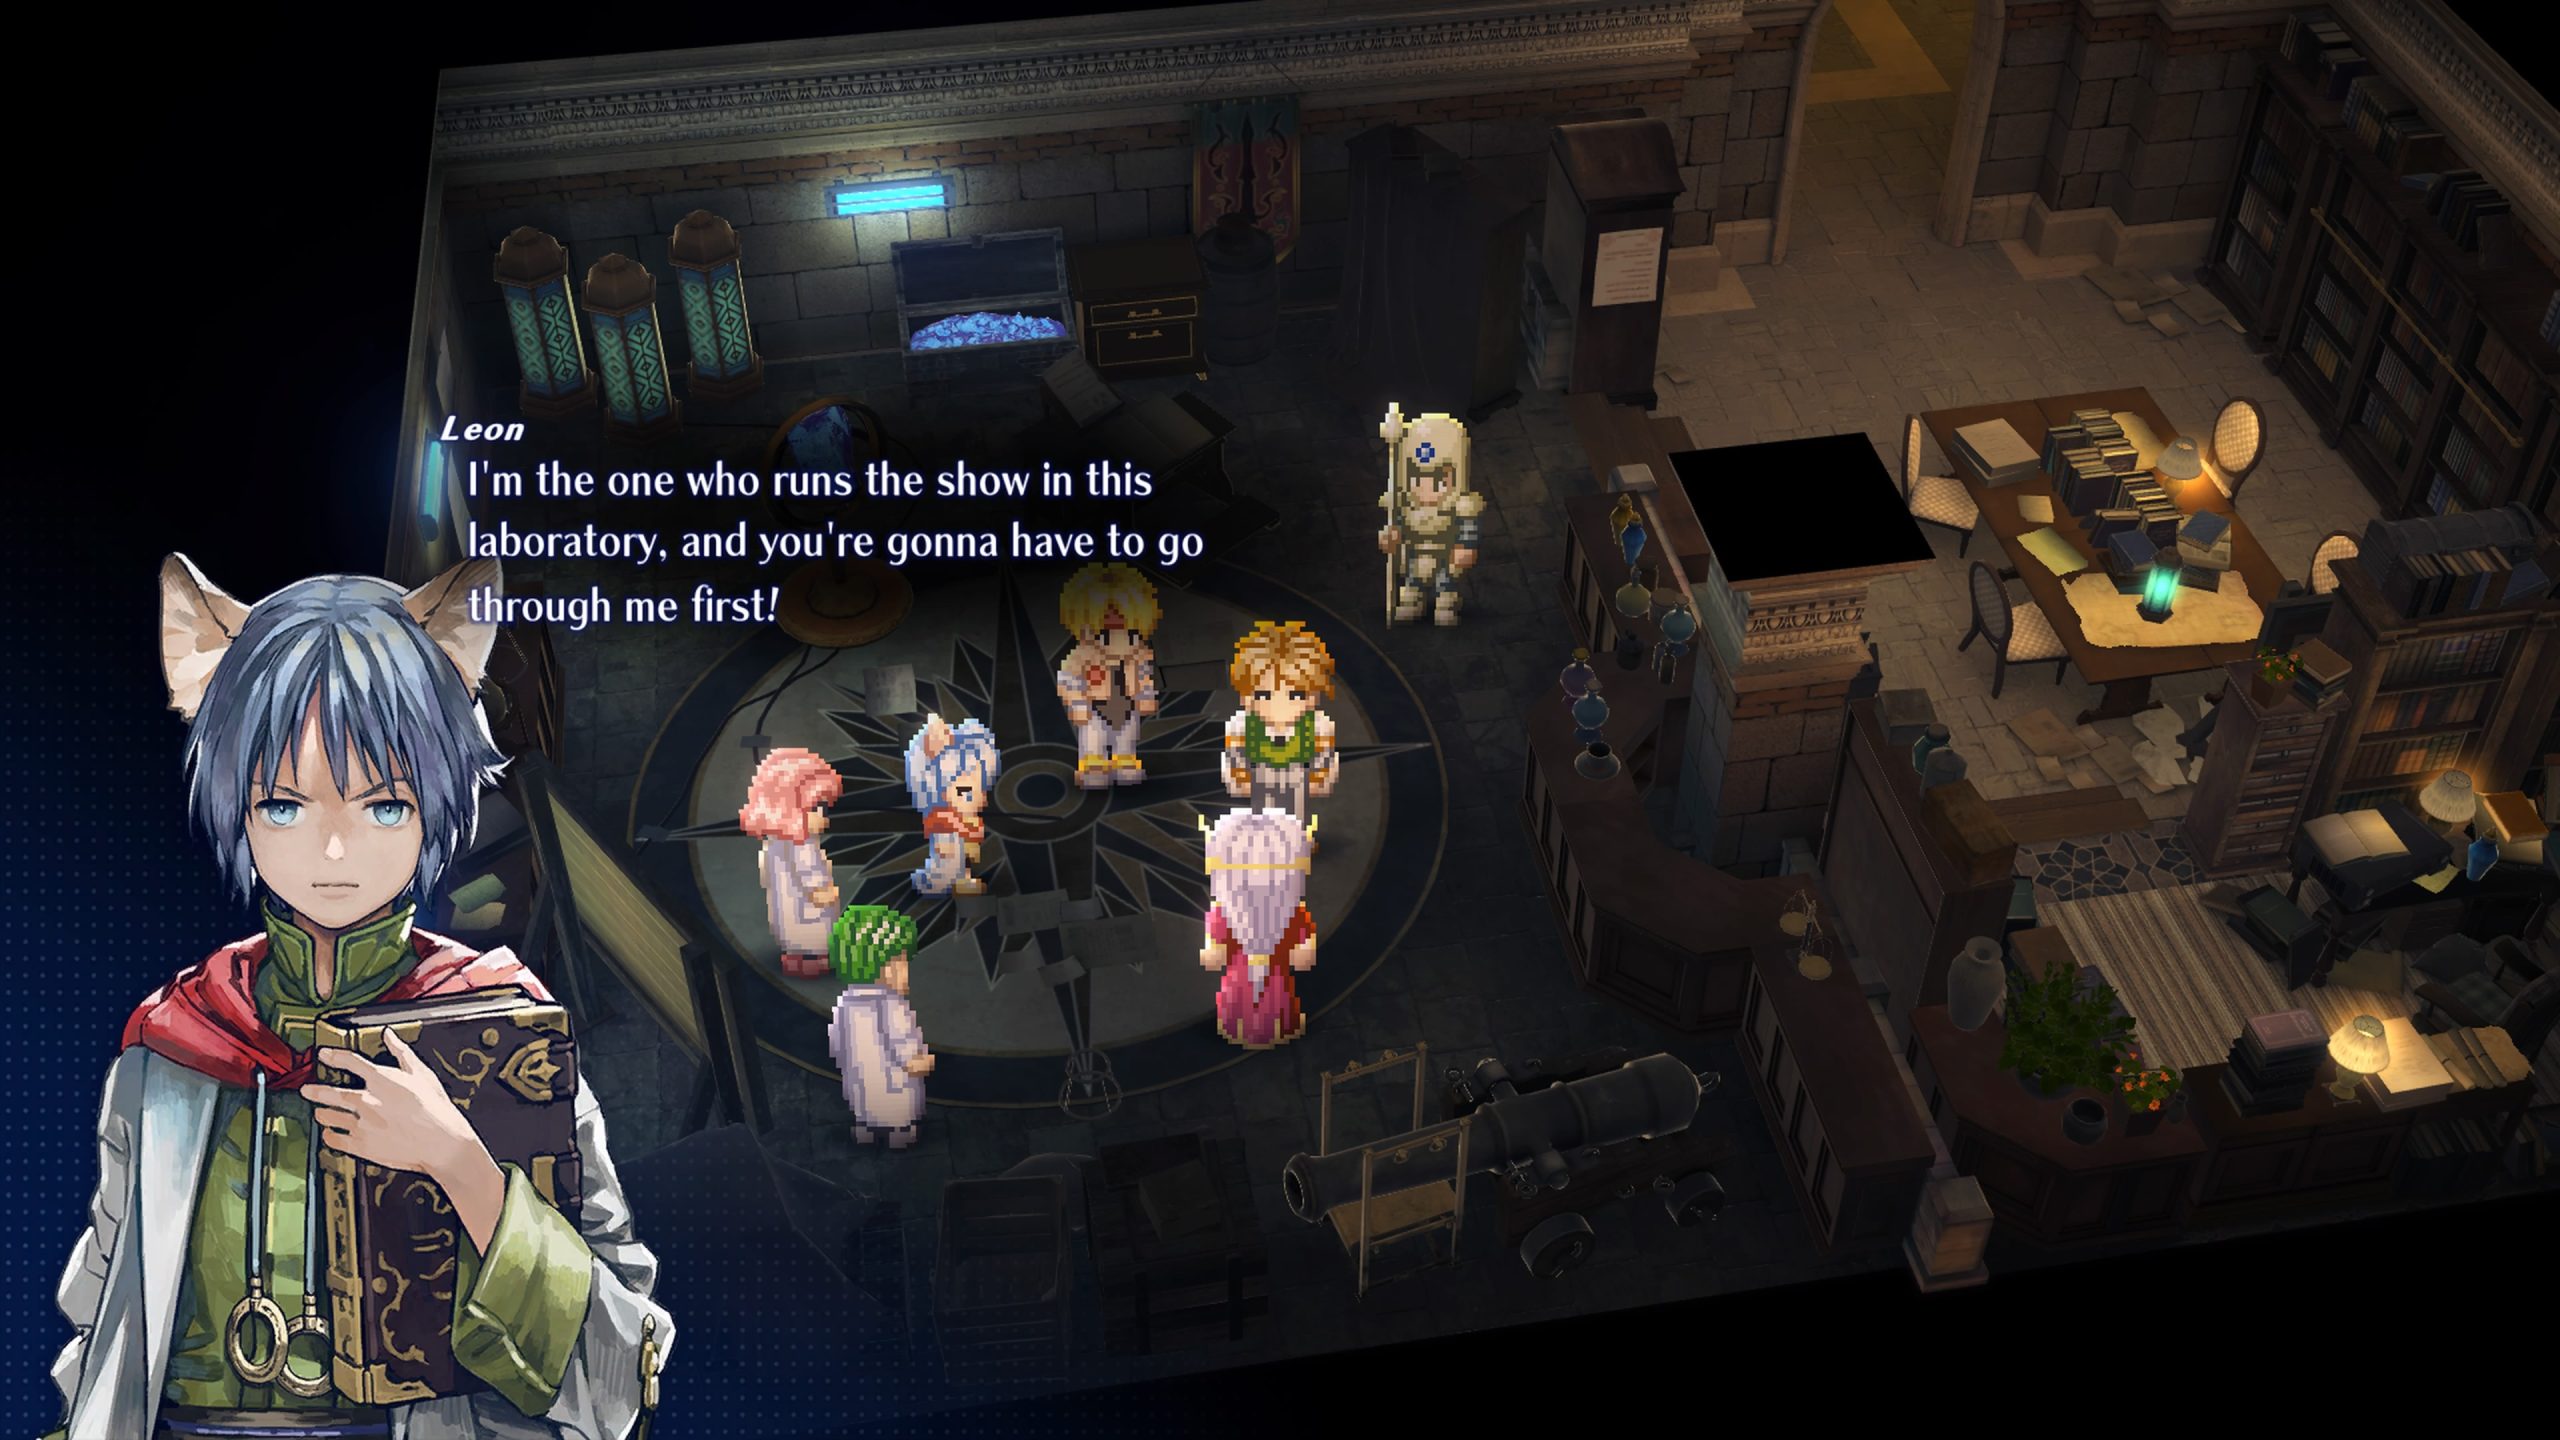
Since we can move now, return to the castle and make your way inside. Once inside, speak with the receptionists. Once the conversation is over, you can make your way to the right towards the lab you may have been to earlier. Here, we will meet the King and another possible party member, aka Leon. A scene will play out, and depending on who you recruited between Precis and Bowman will determine how it plays out.
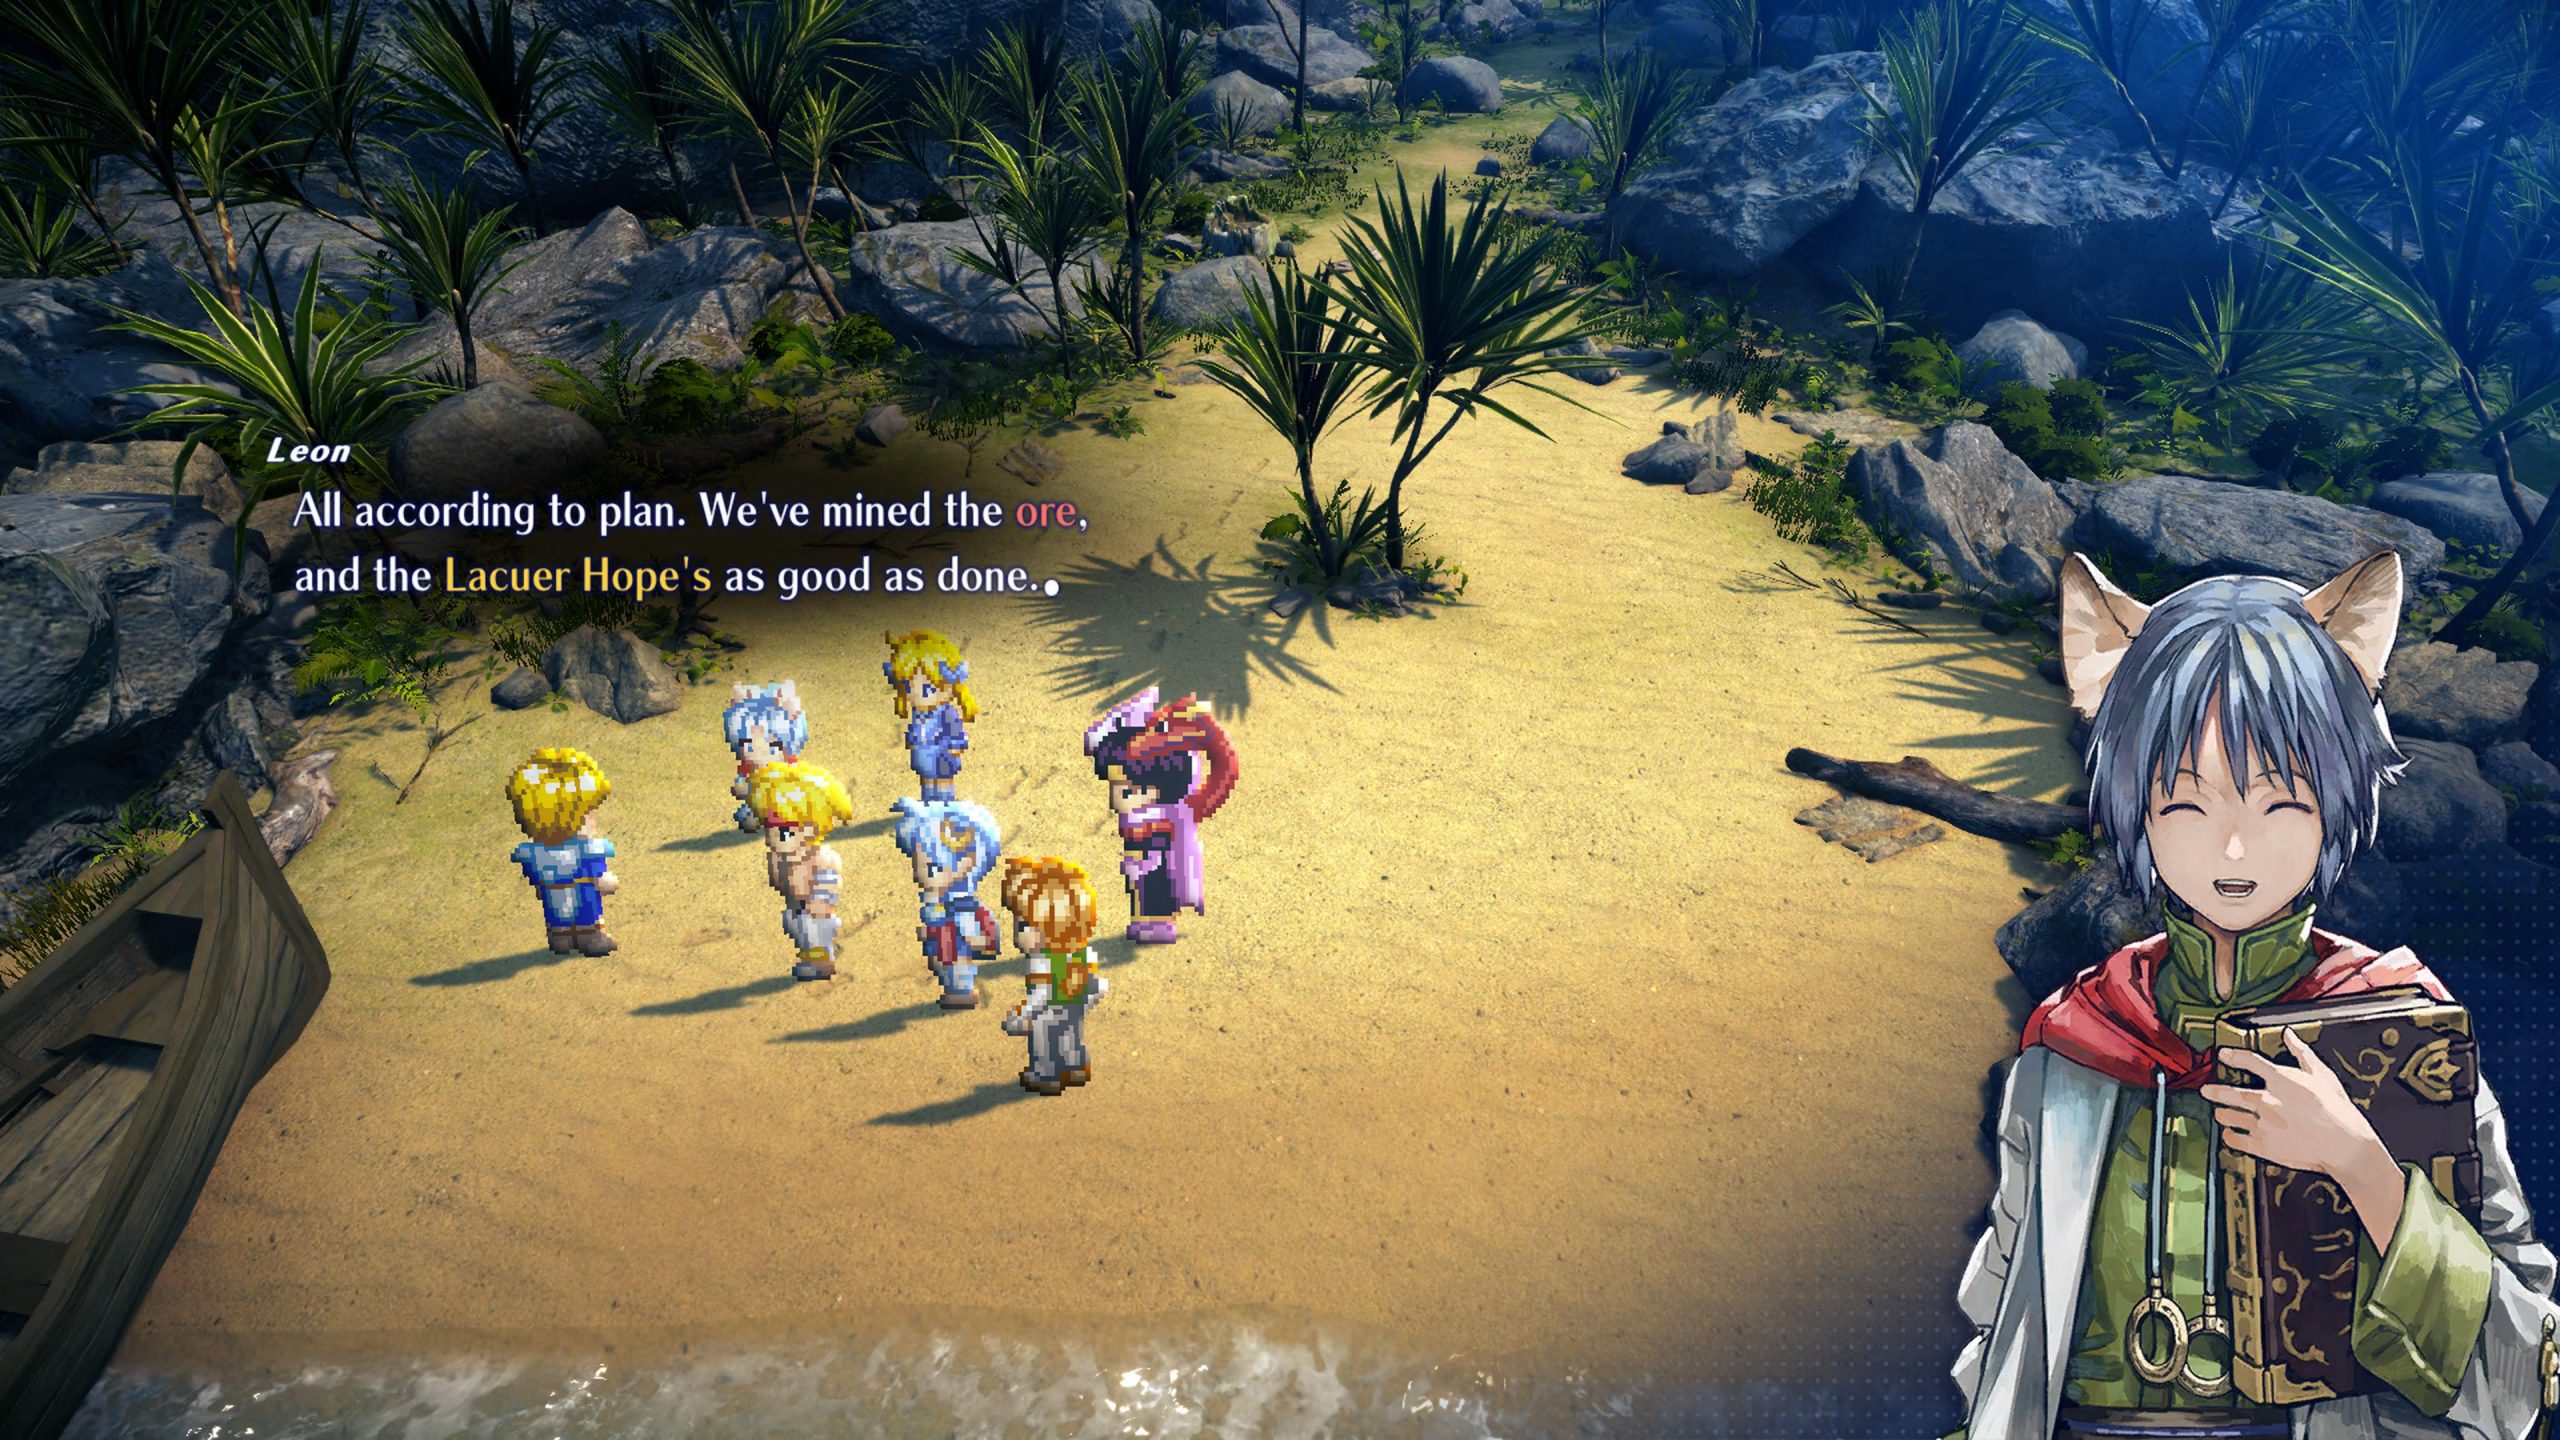
After learning a bit about the Lacuer Hope, we’ll also be informed about how it still needs ore from the Hoffman Ruins. Leon will join up with us for a bit here and hand us a Combo Link as well, and then it’s time to head to Hilton.
Before you make your way to Hilton, now would be the time to complete any fishing, guild missions, or powering up you may need to do, as this will be one of the last times you can get any of this done for quite some time.
Once you’ve made your way to Hilton, make sure you grab any items you might be low on and head to the ! Symbol by the docks. Here just talk to the NPC by the ship and let them know you’re ready to go and head off to Hoffman Coast.
We’ve arrived at Hoffman Coast, and while beautiful, this place is deadly. After a little bit of talking, head towards the ! Symbol, and you’re on the way to Hoffman Ruins. Once you’re on the road, make an immediate right as soon as you exit the coast, you will see a clearing with a chest containing Meat x8.
Continue North from the chest through the dense forest, and you will reach another chest with Magical Clay x3.
After grabbing the item from here, head Southwest from the ruins and grab the chest with Wolfsbane x8.
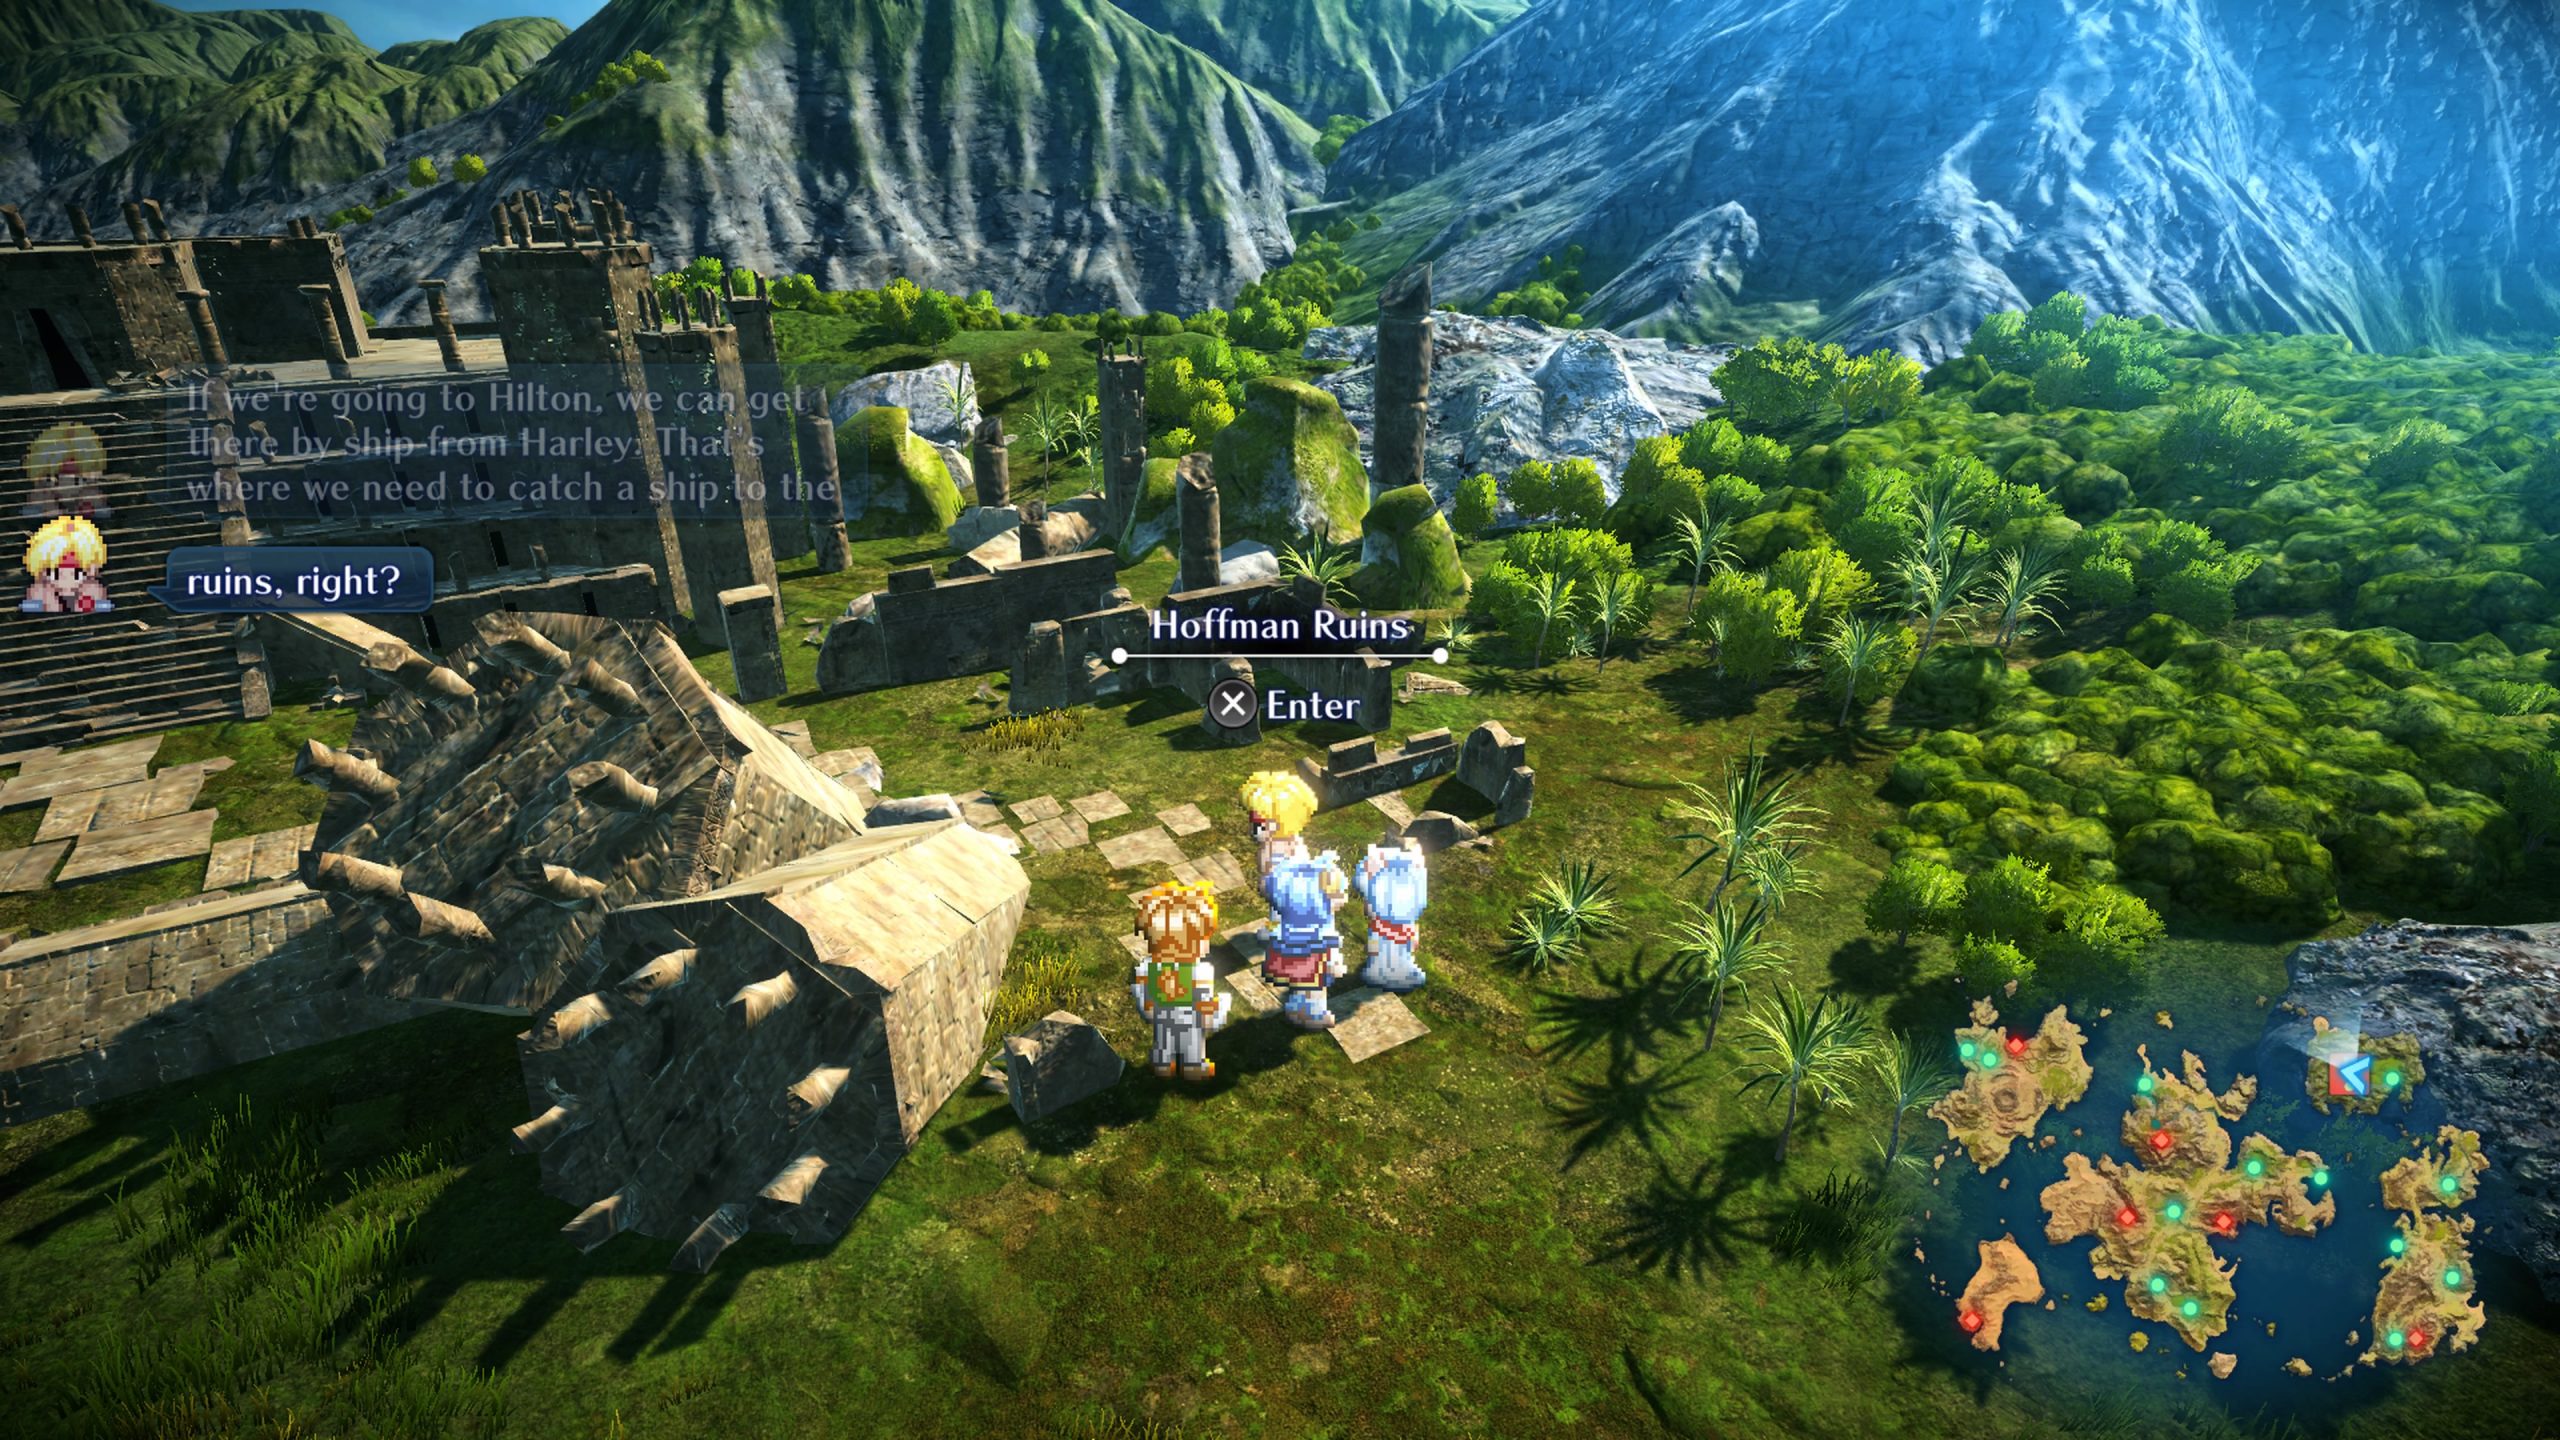
From here, head back to the main road, and there will be a chest containing Goddess Statuette x3 right before you arrive at the ruins.
For the last chest, you’ll need the specialty skill Bunny Call to reach it, so if you have it first, call out your bunny and then make your way to the mountains directly behind the ruins. Continue to the Northeast until you see a stretch of beach. Once you spot it, head over and grab the chest containing Mithril.
This is a decent area to level up for a bit, so I’d suggest sitting here for a tiny bit and leveling up. You should have the Free-Fight formation at this point, which grants you bonus experience on top of utilizing the Train specialty skill. With both of these equipped, you’ll level up fast, especially if you already have powerful weapons from Goodie Boxes. Just fast travel back to Hilton when you really need to gather up items again or rest at the Inn to heal. Rinse and repeat this process, and you’ll see major gains in no time.
Hoffman Ruins
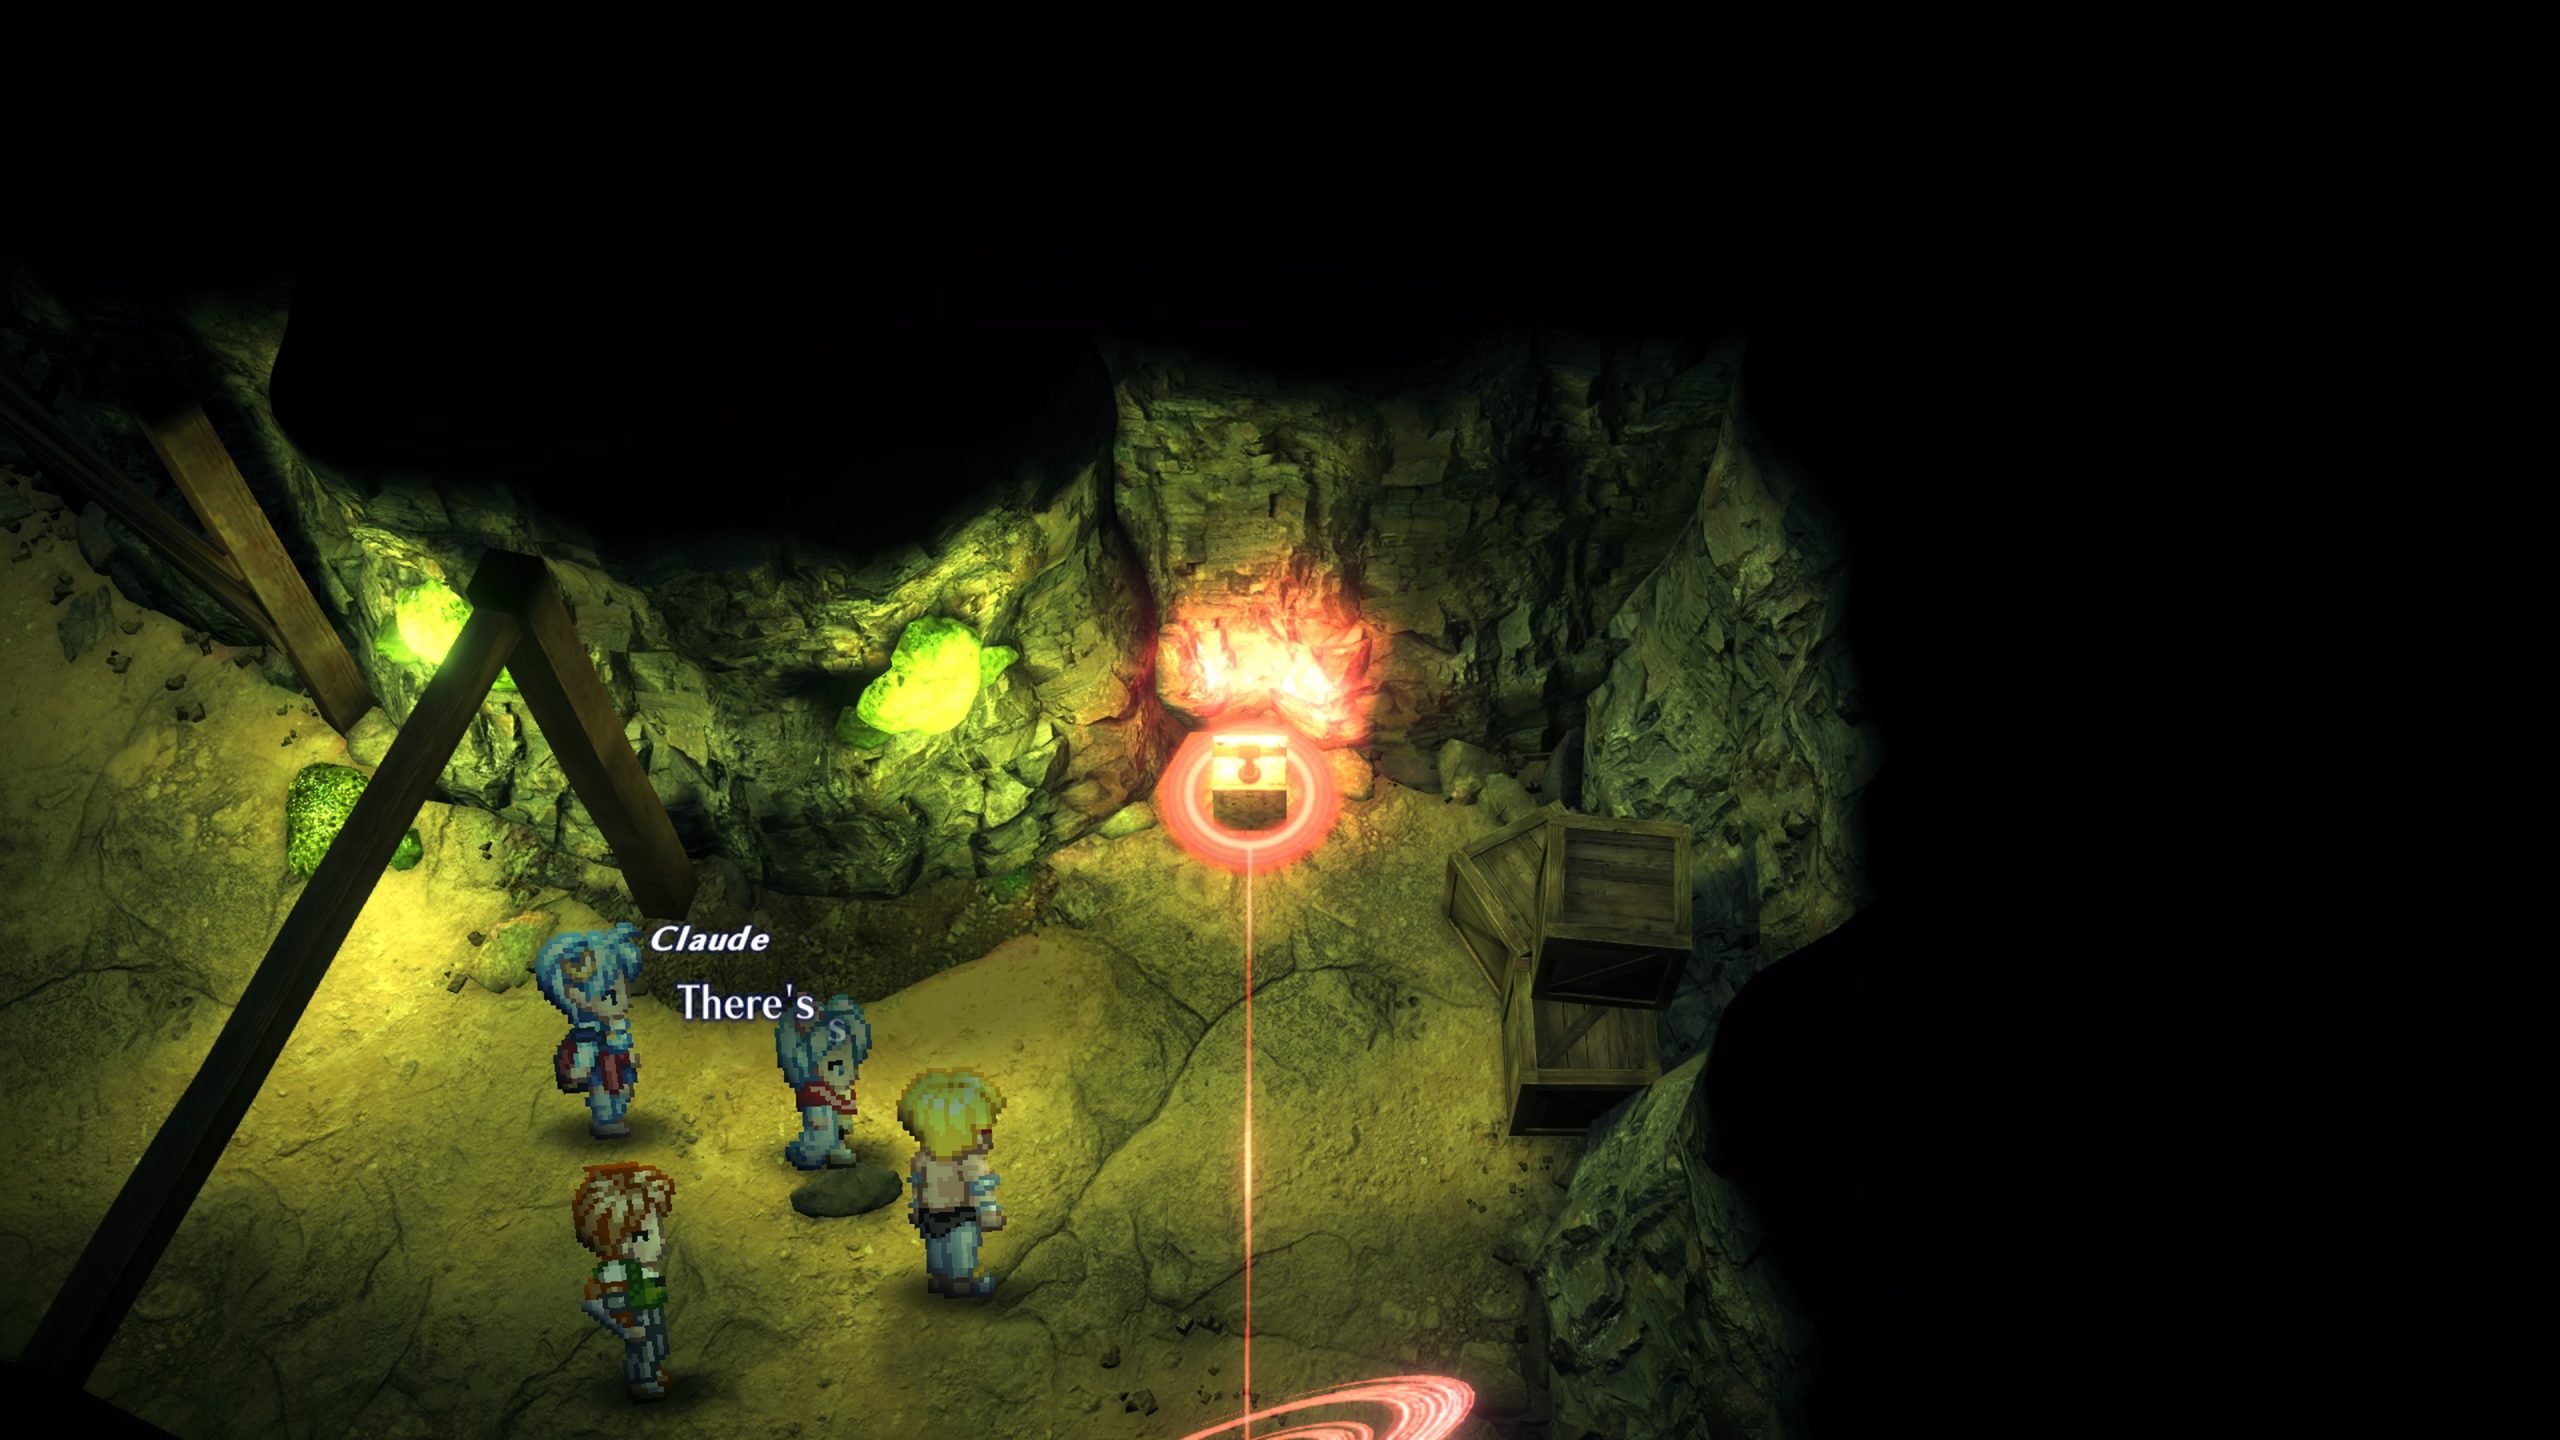
Head inside once you’ve had your fill of leveling up and get ready for a little bit of work. There will be three enemies you can take out in the outer interior area before you head completely inside, so take them out and make your way in. As soon as you enter the dungeon, make your way to the left, and you’ll see 5 rooms with 3 containing chests. Enter the first room to the bottom for a chest containing ?Herb, then enter the top room in the second row to grab the chest containing Splinter+ from in here, finally head straight back, grab the chest with White Clip+ from this room, and continue on to the! symbol.
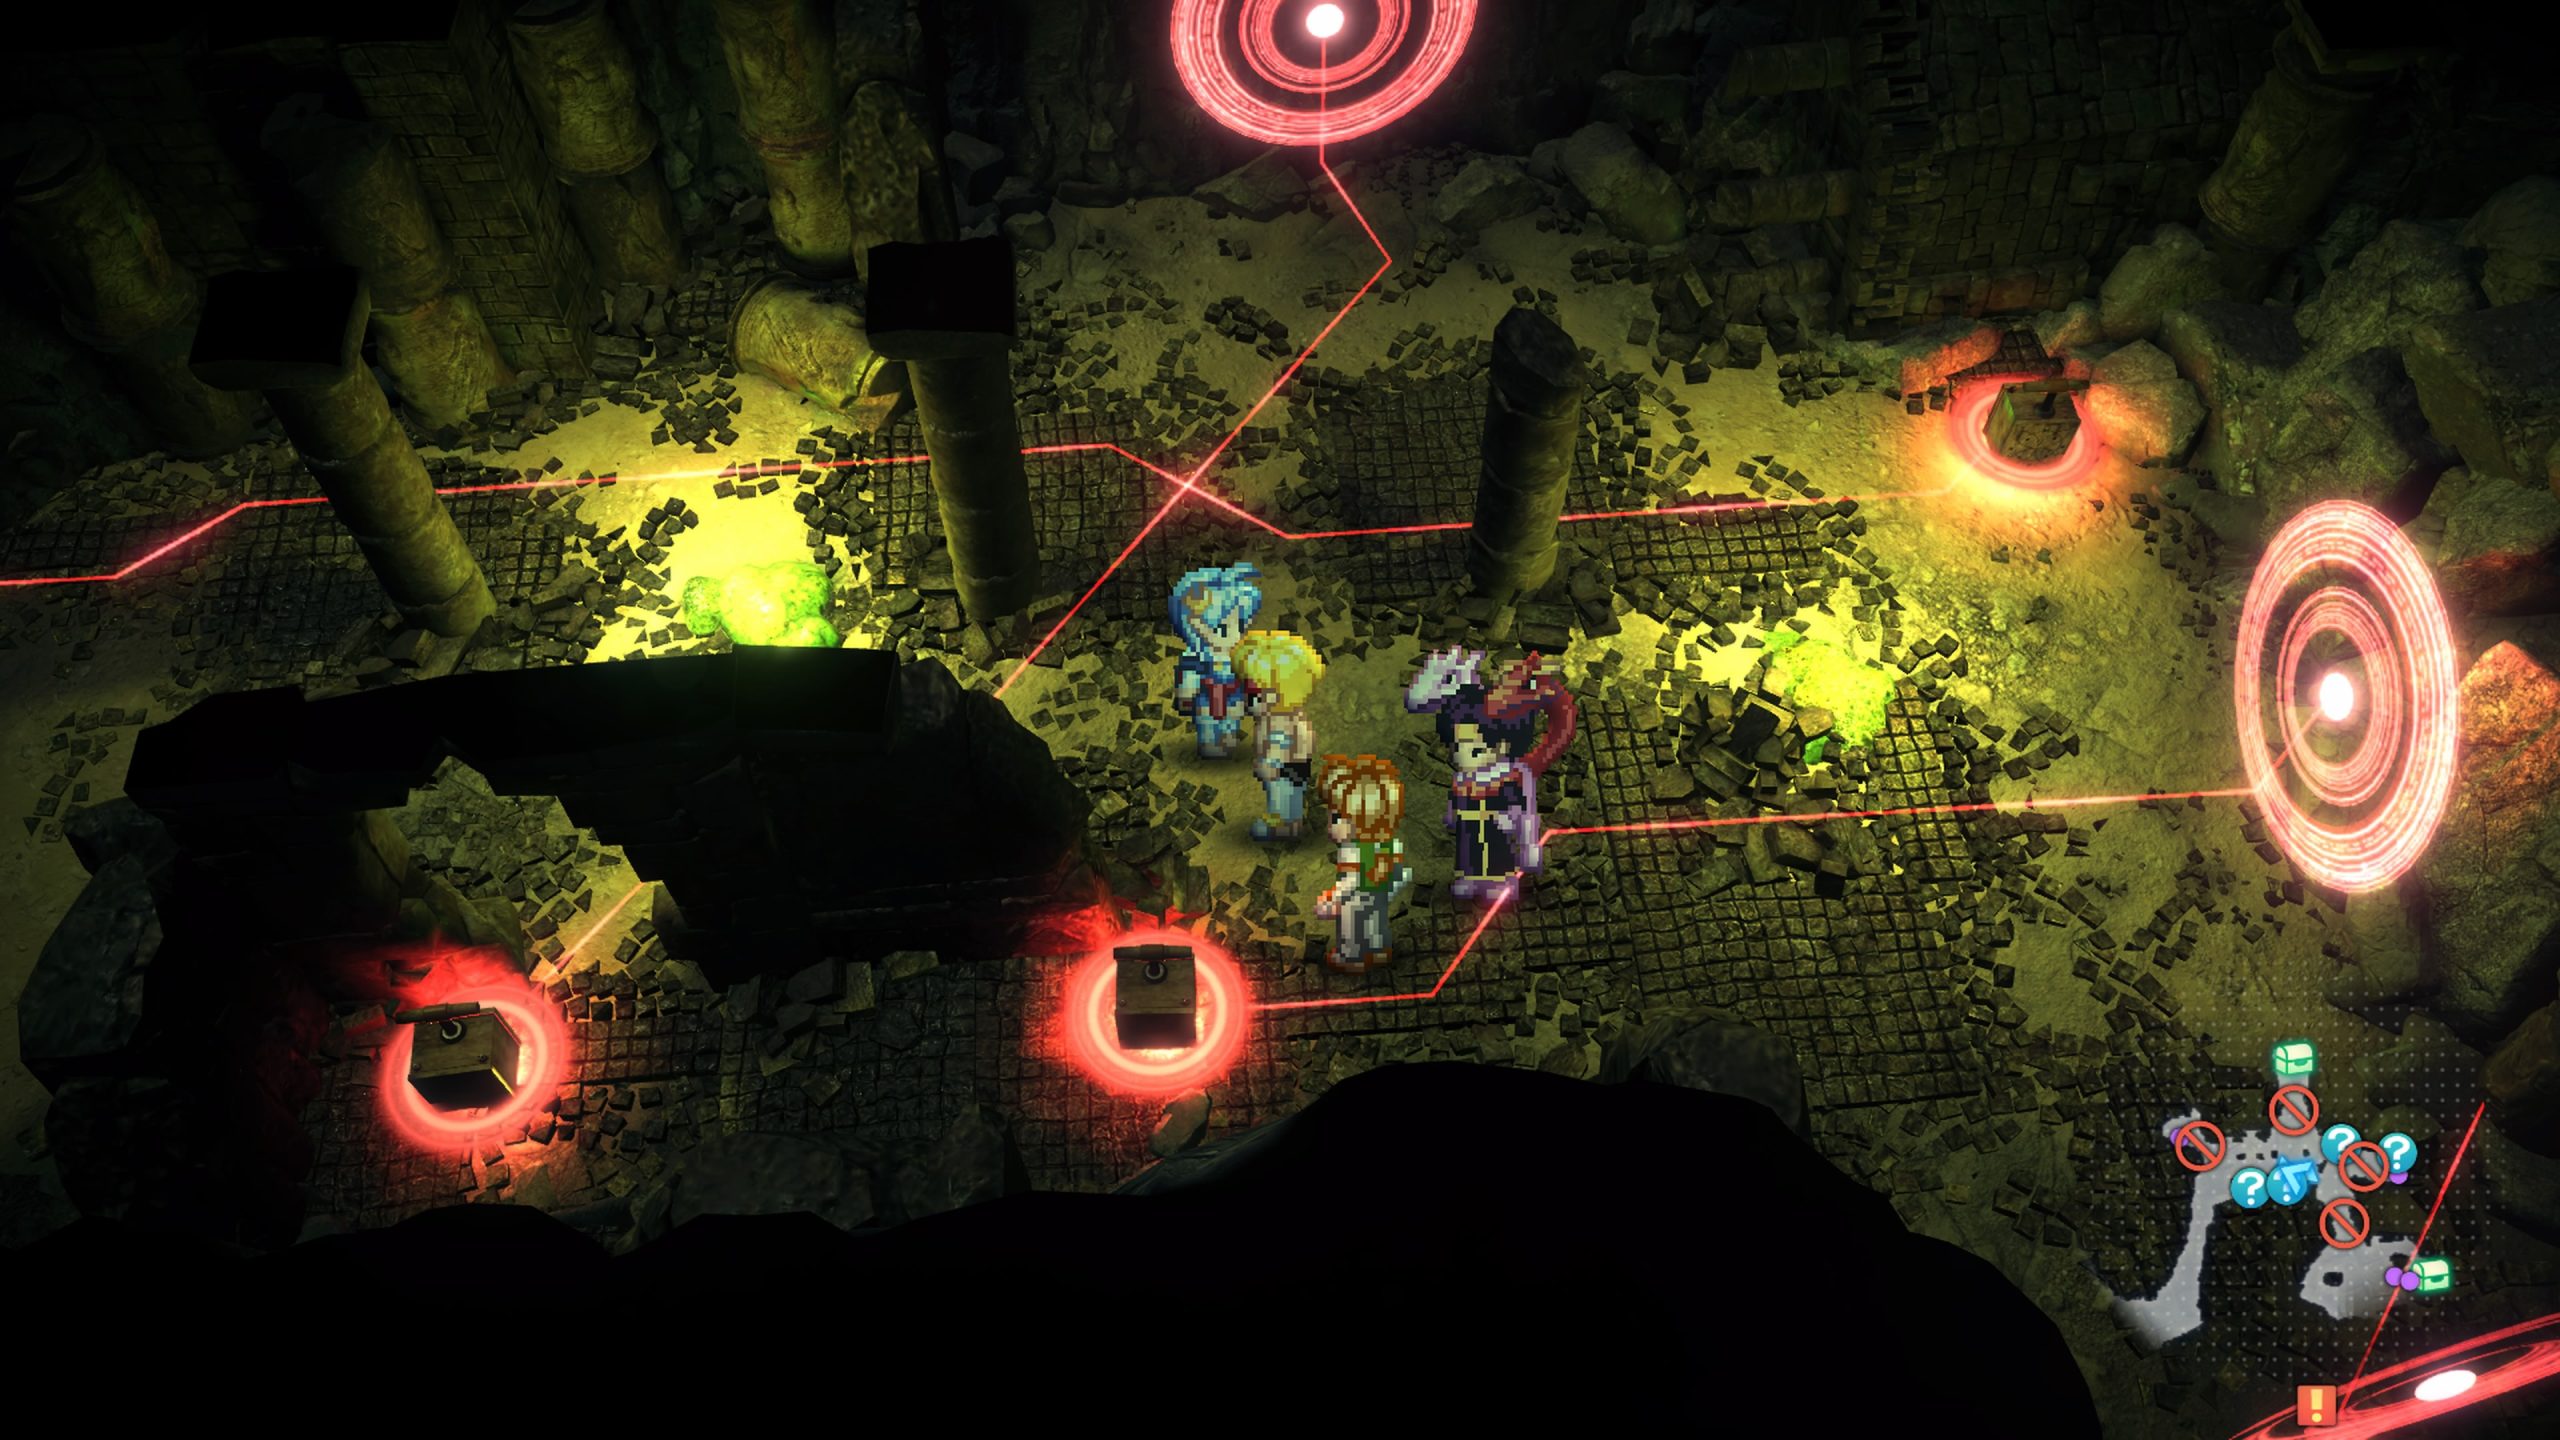
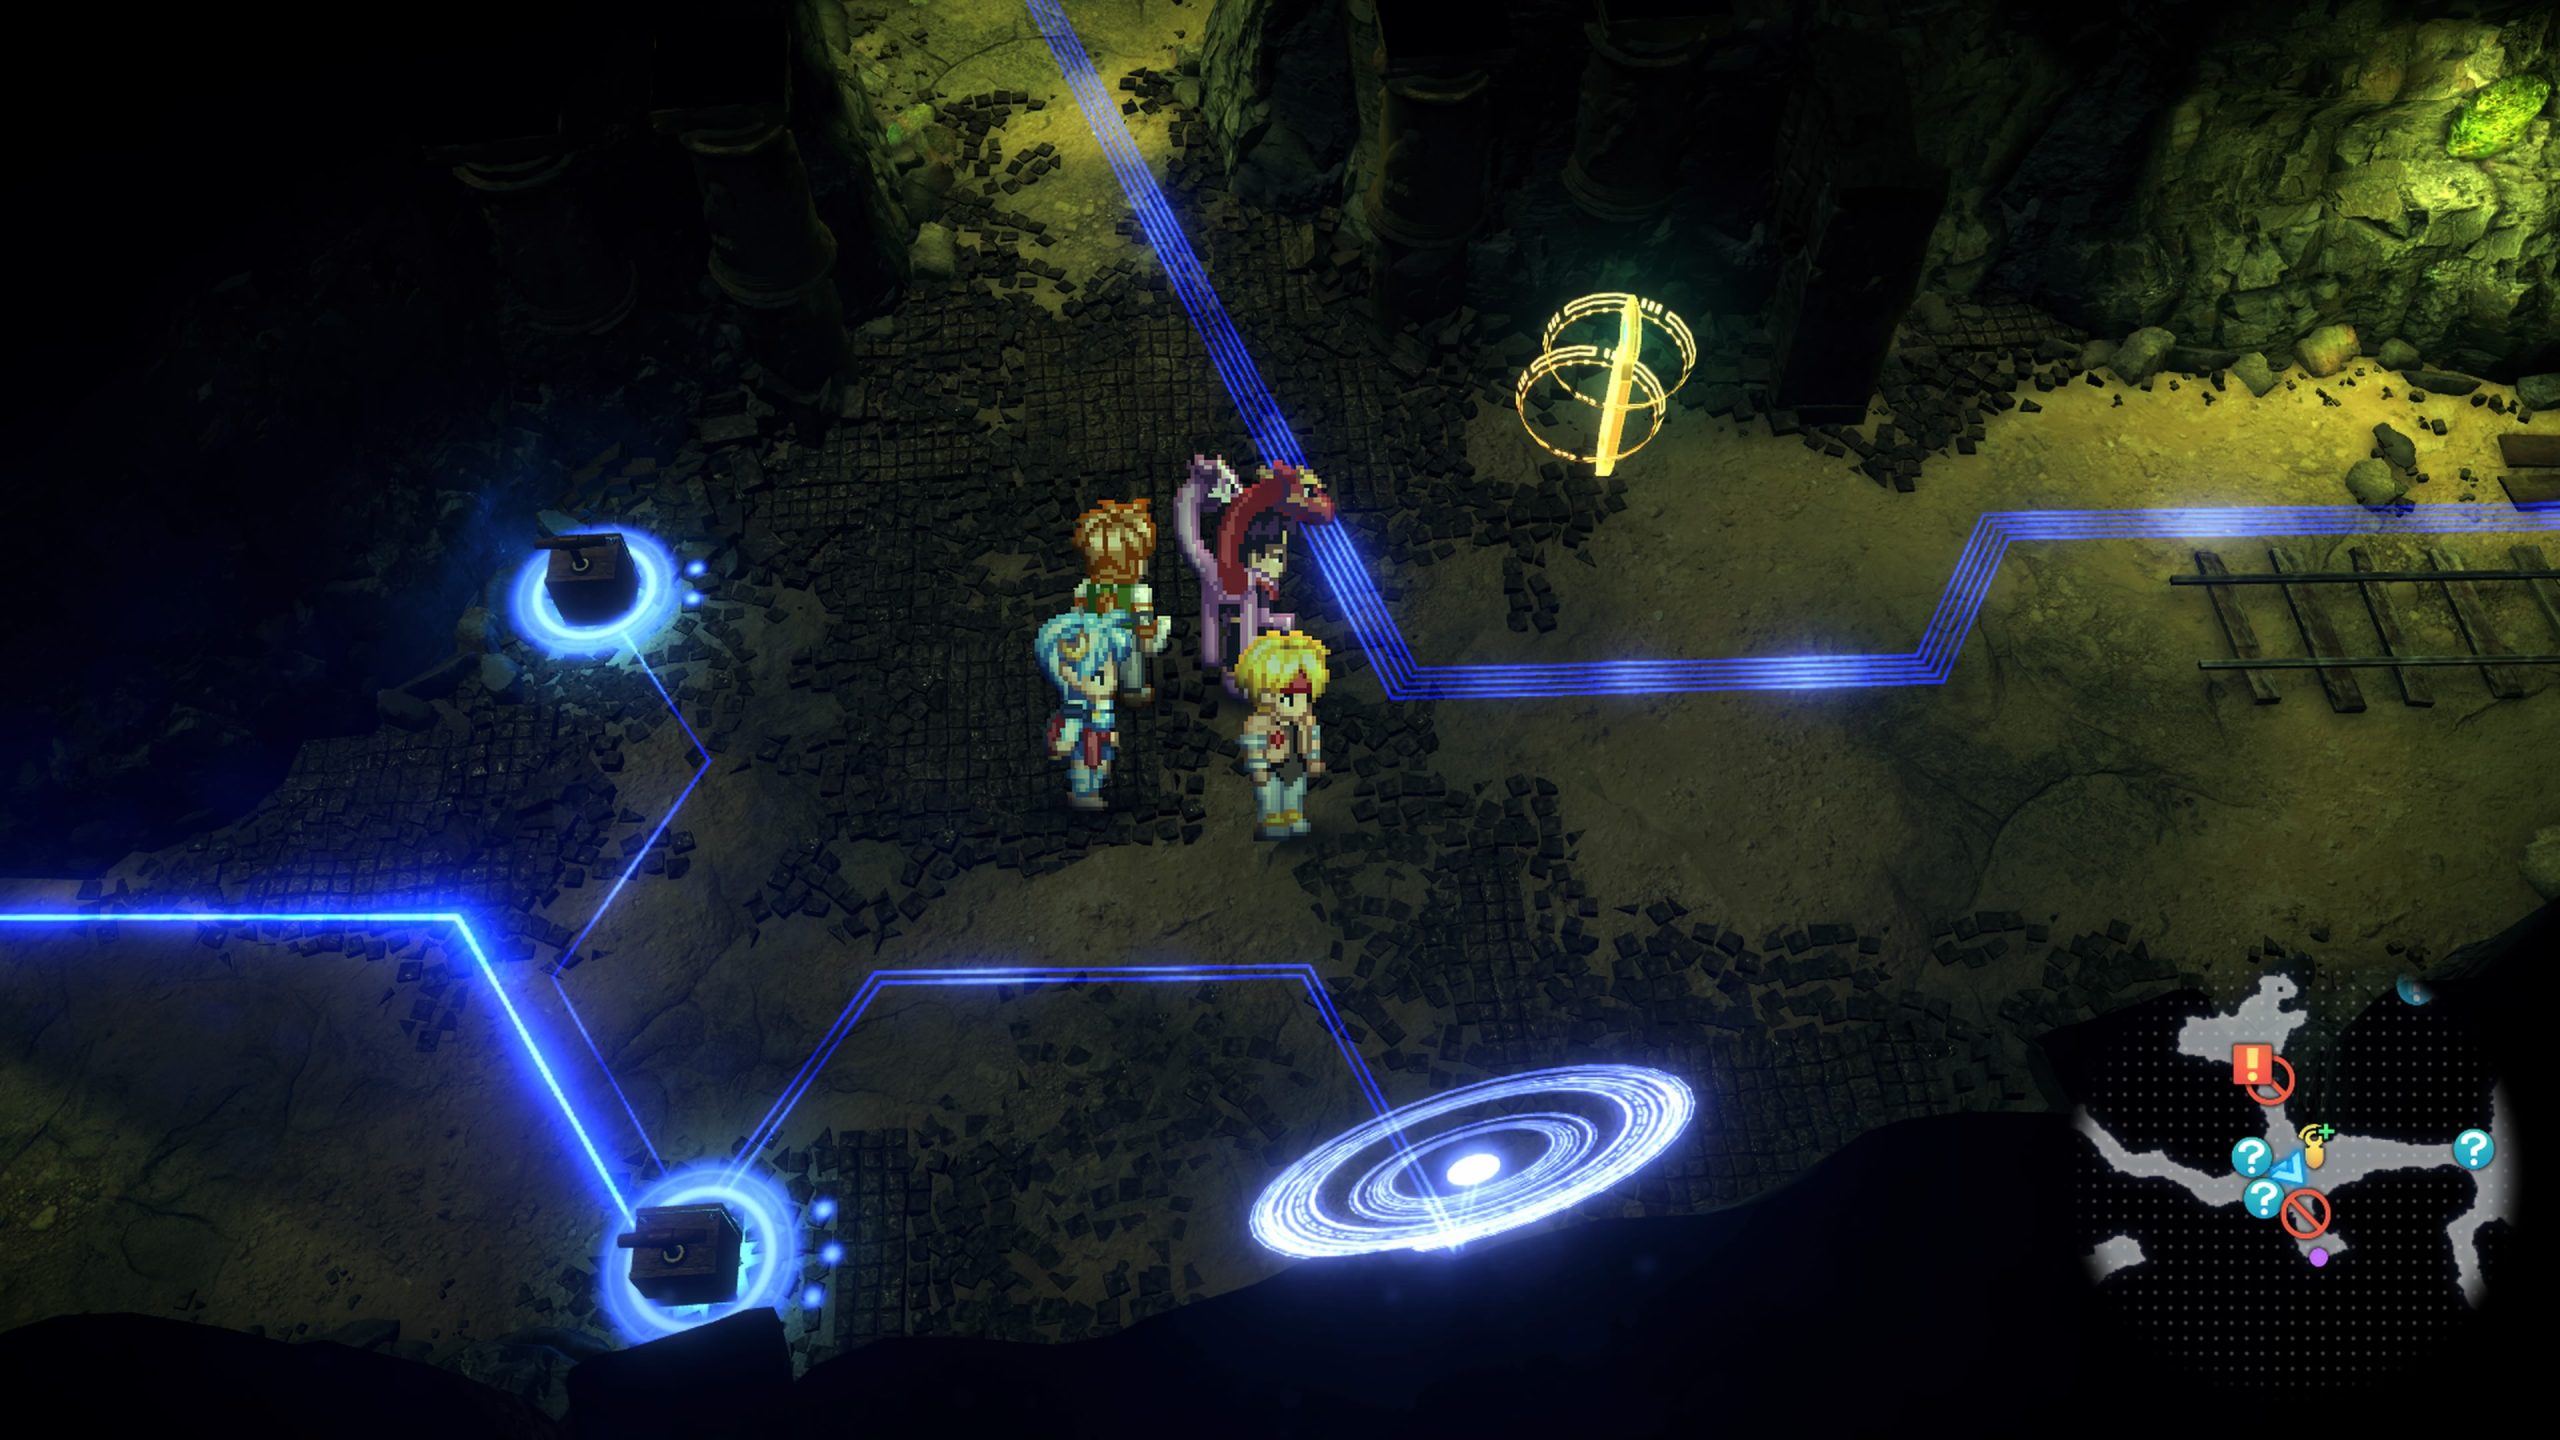
When you arrive at your destination, a scene with Leon will kick off. Once it’s all said and done, make sure you save before hopping on the lift to the next floor. Head towards the ! symbol, and another scene will activate where you’ll also run into the first illuminated fuse and explosive setup with a plunger right next to it. You’re going to run into several of these setups throughout the map, but the jist of each little “puzzle” is to set off each plunger in the correct order. Each one will have a number of dots that represent its order, so just ignite them in numerical order, and this will light up the main switch you need to press.
Set the first one off and continue on ahead, where you’ll run into a split going either left, right, or straight ahead. We head to the right, where you’ll encounter another explosive setup.
This one has no specific order for these, so head over to the plunger located at the bottom left, hidden behind the broken doorway. Push the switch, and the magic circle to the Northeast will explode. Head over there and make your way back to the chest containing Goddess Statuette x3. Next, press the switch right next to the last one you just set off in order to blow on the wall to the right of the room, which has another switch inside. Press the switch, and it will blow up the wall to the south, and that’s where you need to be heading next.
Once inside, go ahead and grab your next Unique Spot- Glint of Hidden Power, which grants us 1000 EXP and Light Cross+. Make your way to the right side of this area where you’ll find a chest with a Hexagram Card x3.
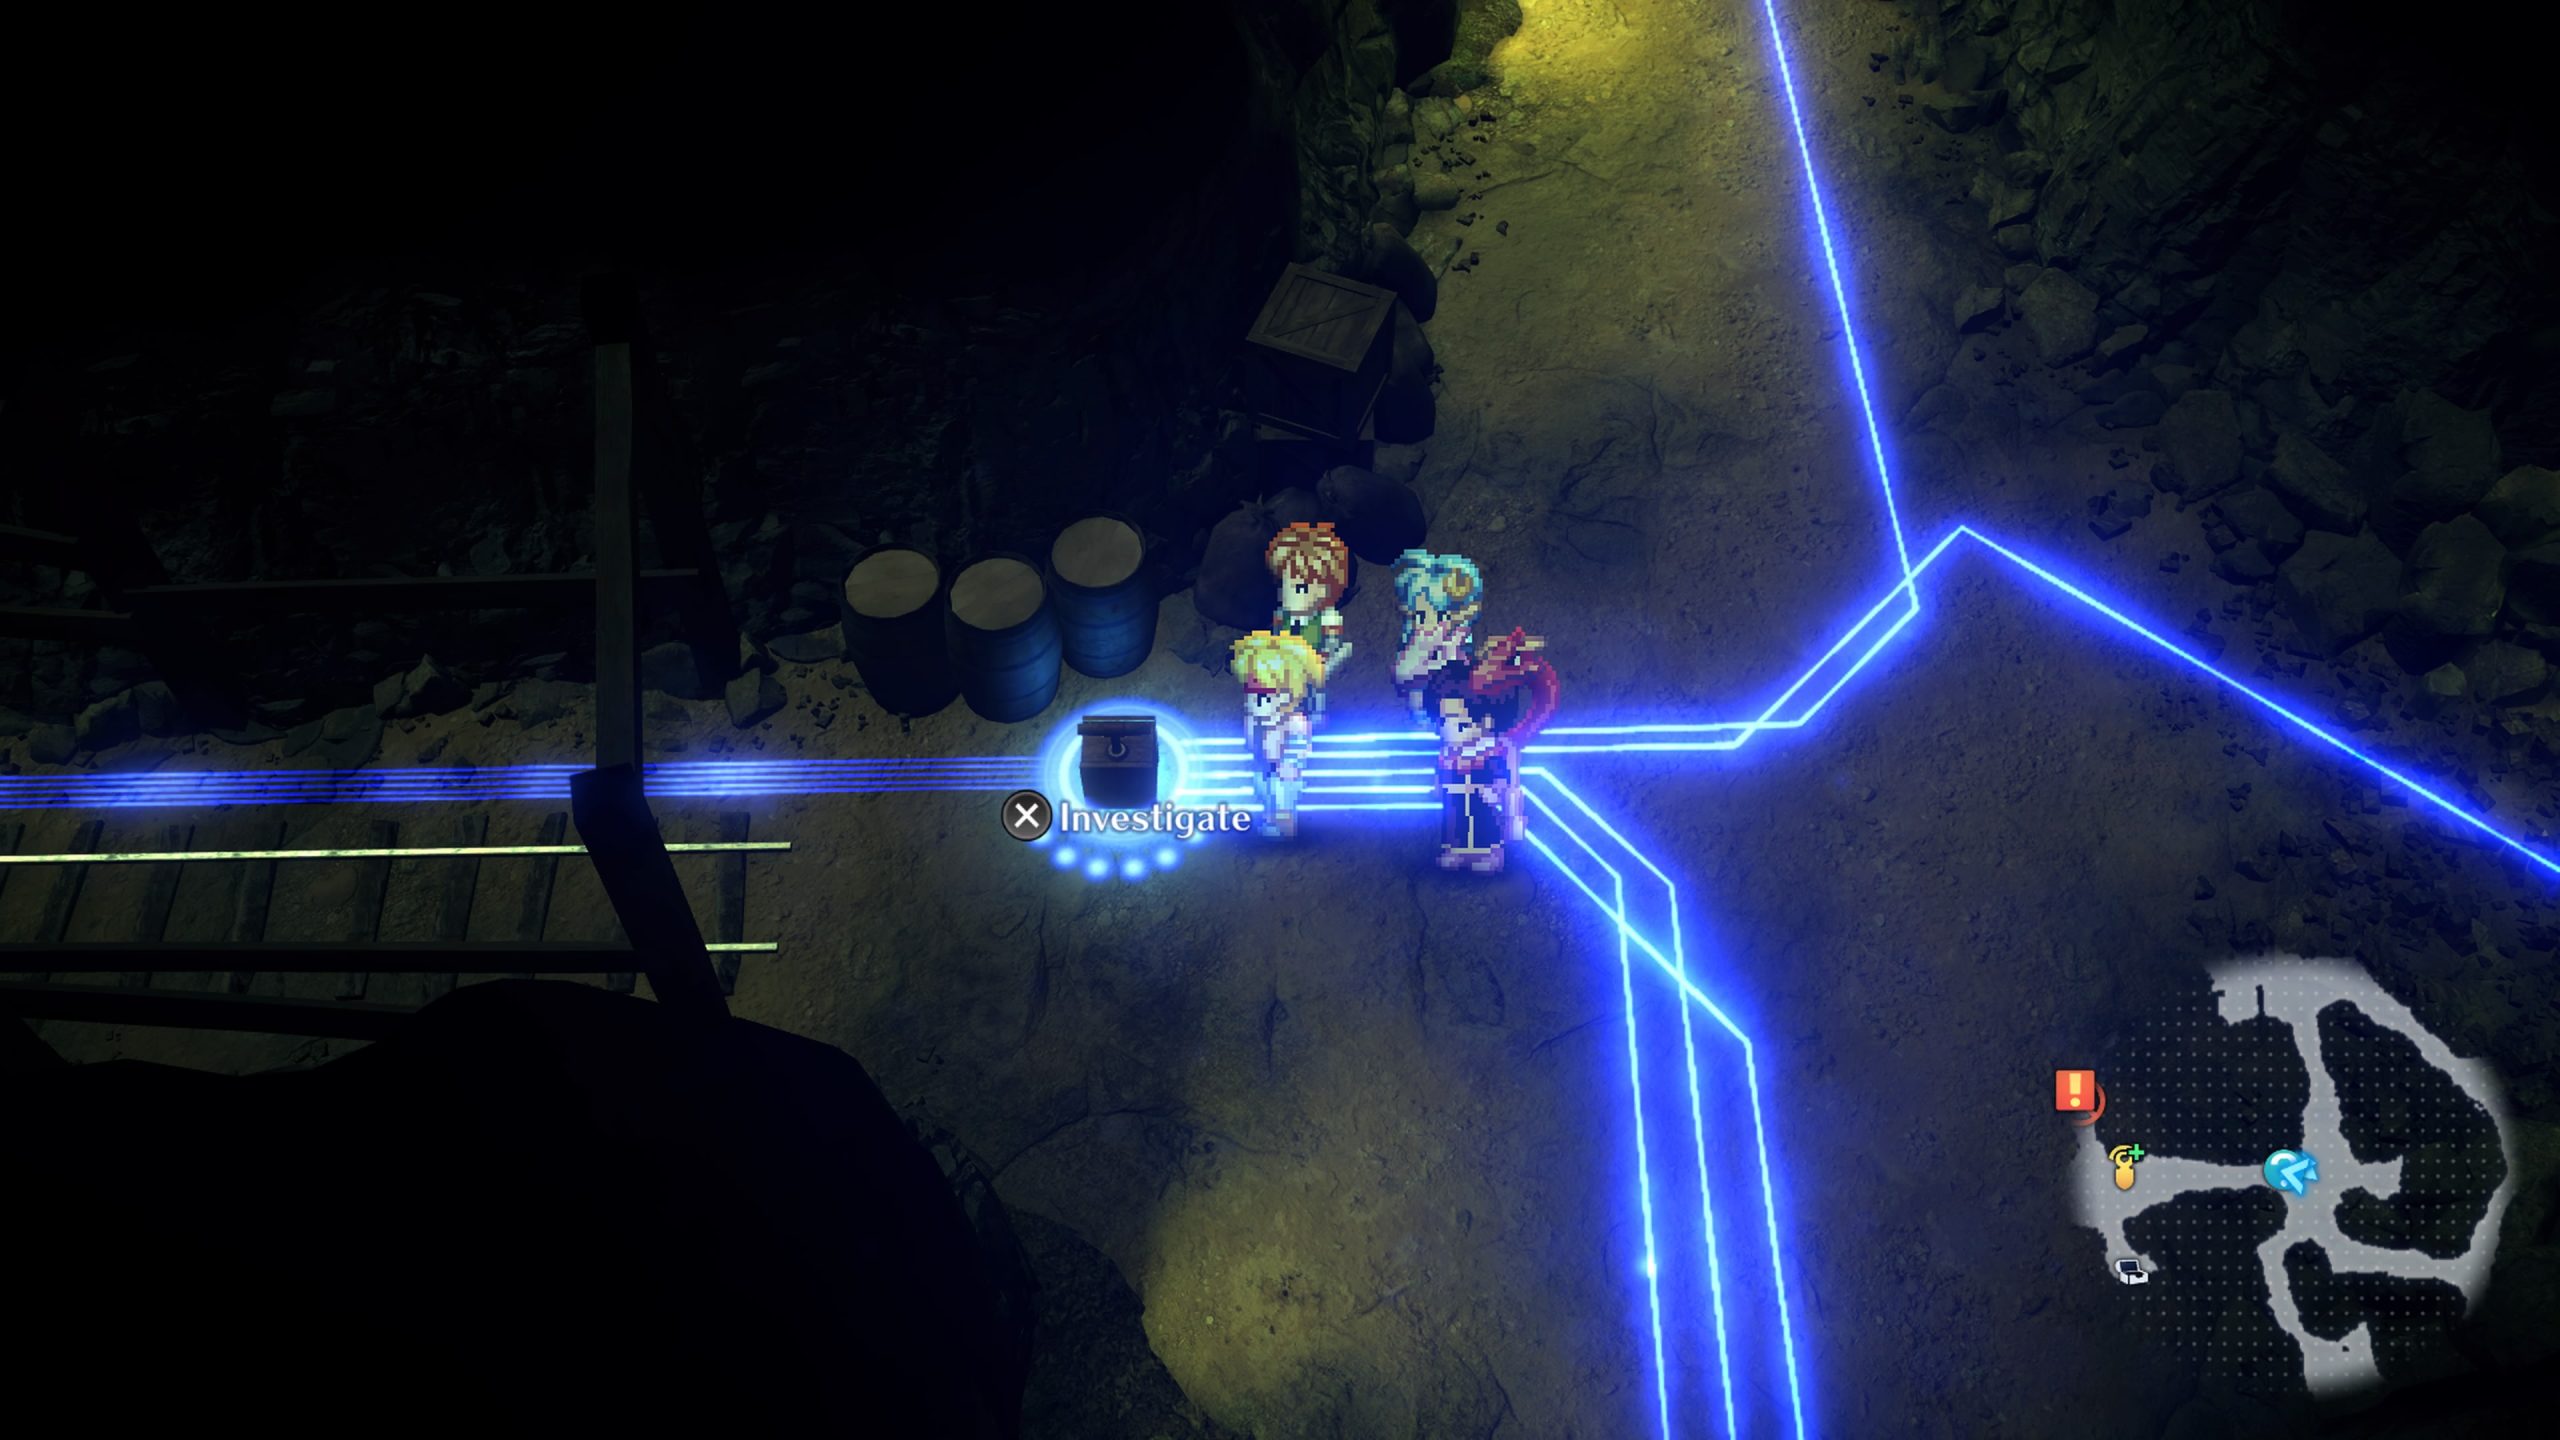
Continue down the South path, where you’ll run into another fork. This time, head left toward another room full of explosives. This is one of the puzzle’s where you’re going to want to set the switches off in numerical order. Just pay attention to the dots next to the switch and set them off in order. Once you set off the main one, take the path to the left until you see another switch and a split. Go ahead and press this switch just to clear the path and make it easier to backtrack to the entrance. Take your time and make your way to the north. After setting off the explosive, make the immediate left, and there will be another plunger. You know what to do here. Make your way to the back, clear out the enemies, and grab the chest containing ?MINERAL and a Fine Shield.
Head back to the split where you find the switch to be able to backtrack this way, and this time, head to the left; you’ll run into another fork in the path, and here, just take the rightmost path. You’ll end up in another open area where this puzzle is a little more space out than the others. Once again, you’ll need to set the switches off in the right order.
- The first switch will require you to head back to the fork you just came from and take the left path, follow it all the way, and there will be the first switch and a chest with Primavera inside.
- Switches two and three are both located in the same open area you just left from, so head back to the right path and press both in order.
After setting off the main switch, the wall below you will explode to reveal a chest containing Wizard’s Cap x1.
Head to the right from here, where you’ll find another main switch and a red circle on the wall, so here’s where you need to go to find the switches:
- Switch 1 is located at the end of the southwest path, where there will also be a switch to blow up to get to switch 3. You can either blast it now or just wait.
- Switch 2 can be found to the north of the main switch, just follow the path and take the immediate right. Follow along the path where you will find switch 2 as well as two switches to blow up other walls. The top left blows up a wall with an enemy behind it, and the bottom right blows up a wall that helps you backtrack to an earlier area we’ll get to later.
- See above for switch 3.
- Take the path located to the Southeast of switch 3. Follow along this path where you will come to a split. Just take the bottom path, and you’ll find switch 4 as well as another plunger that blows up the wall to the west of you. Behind this wall will be a chest containing ?JEWELRY x1.
- Finally, for switch 5, just make your way back to where you found switch 3 and head North again. There, you will find another plunger as well as number 5. Head to the North from the extra plunger and make the first right you can make, the wall will be gone now with two chests containing Playful Handy Stick and Holy Mist.
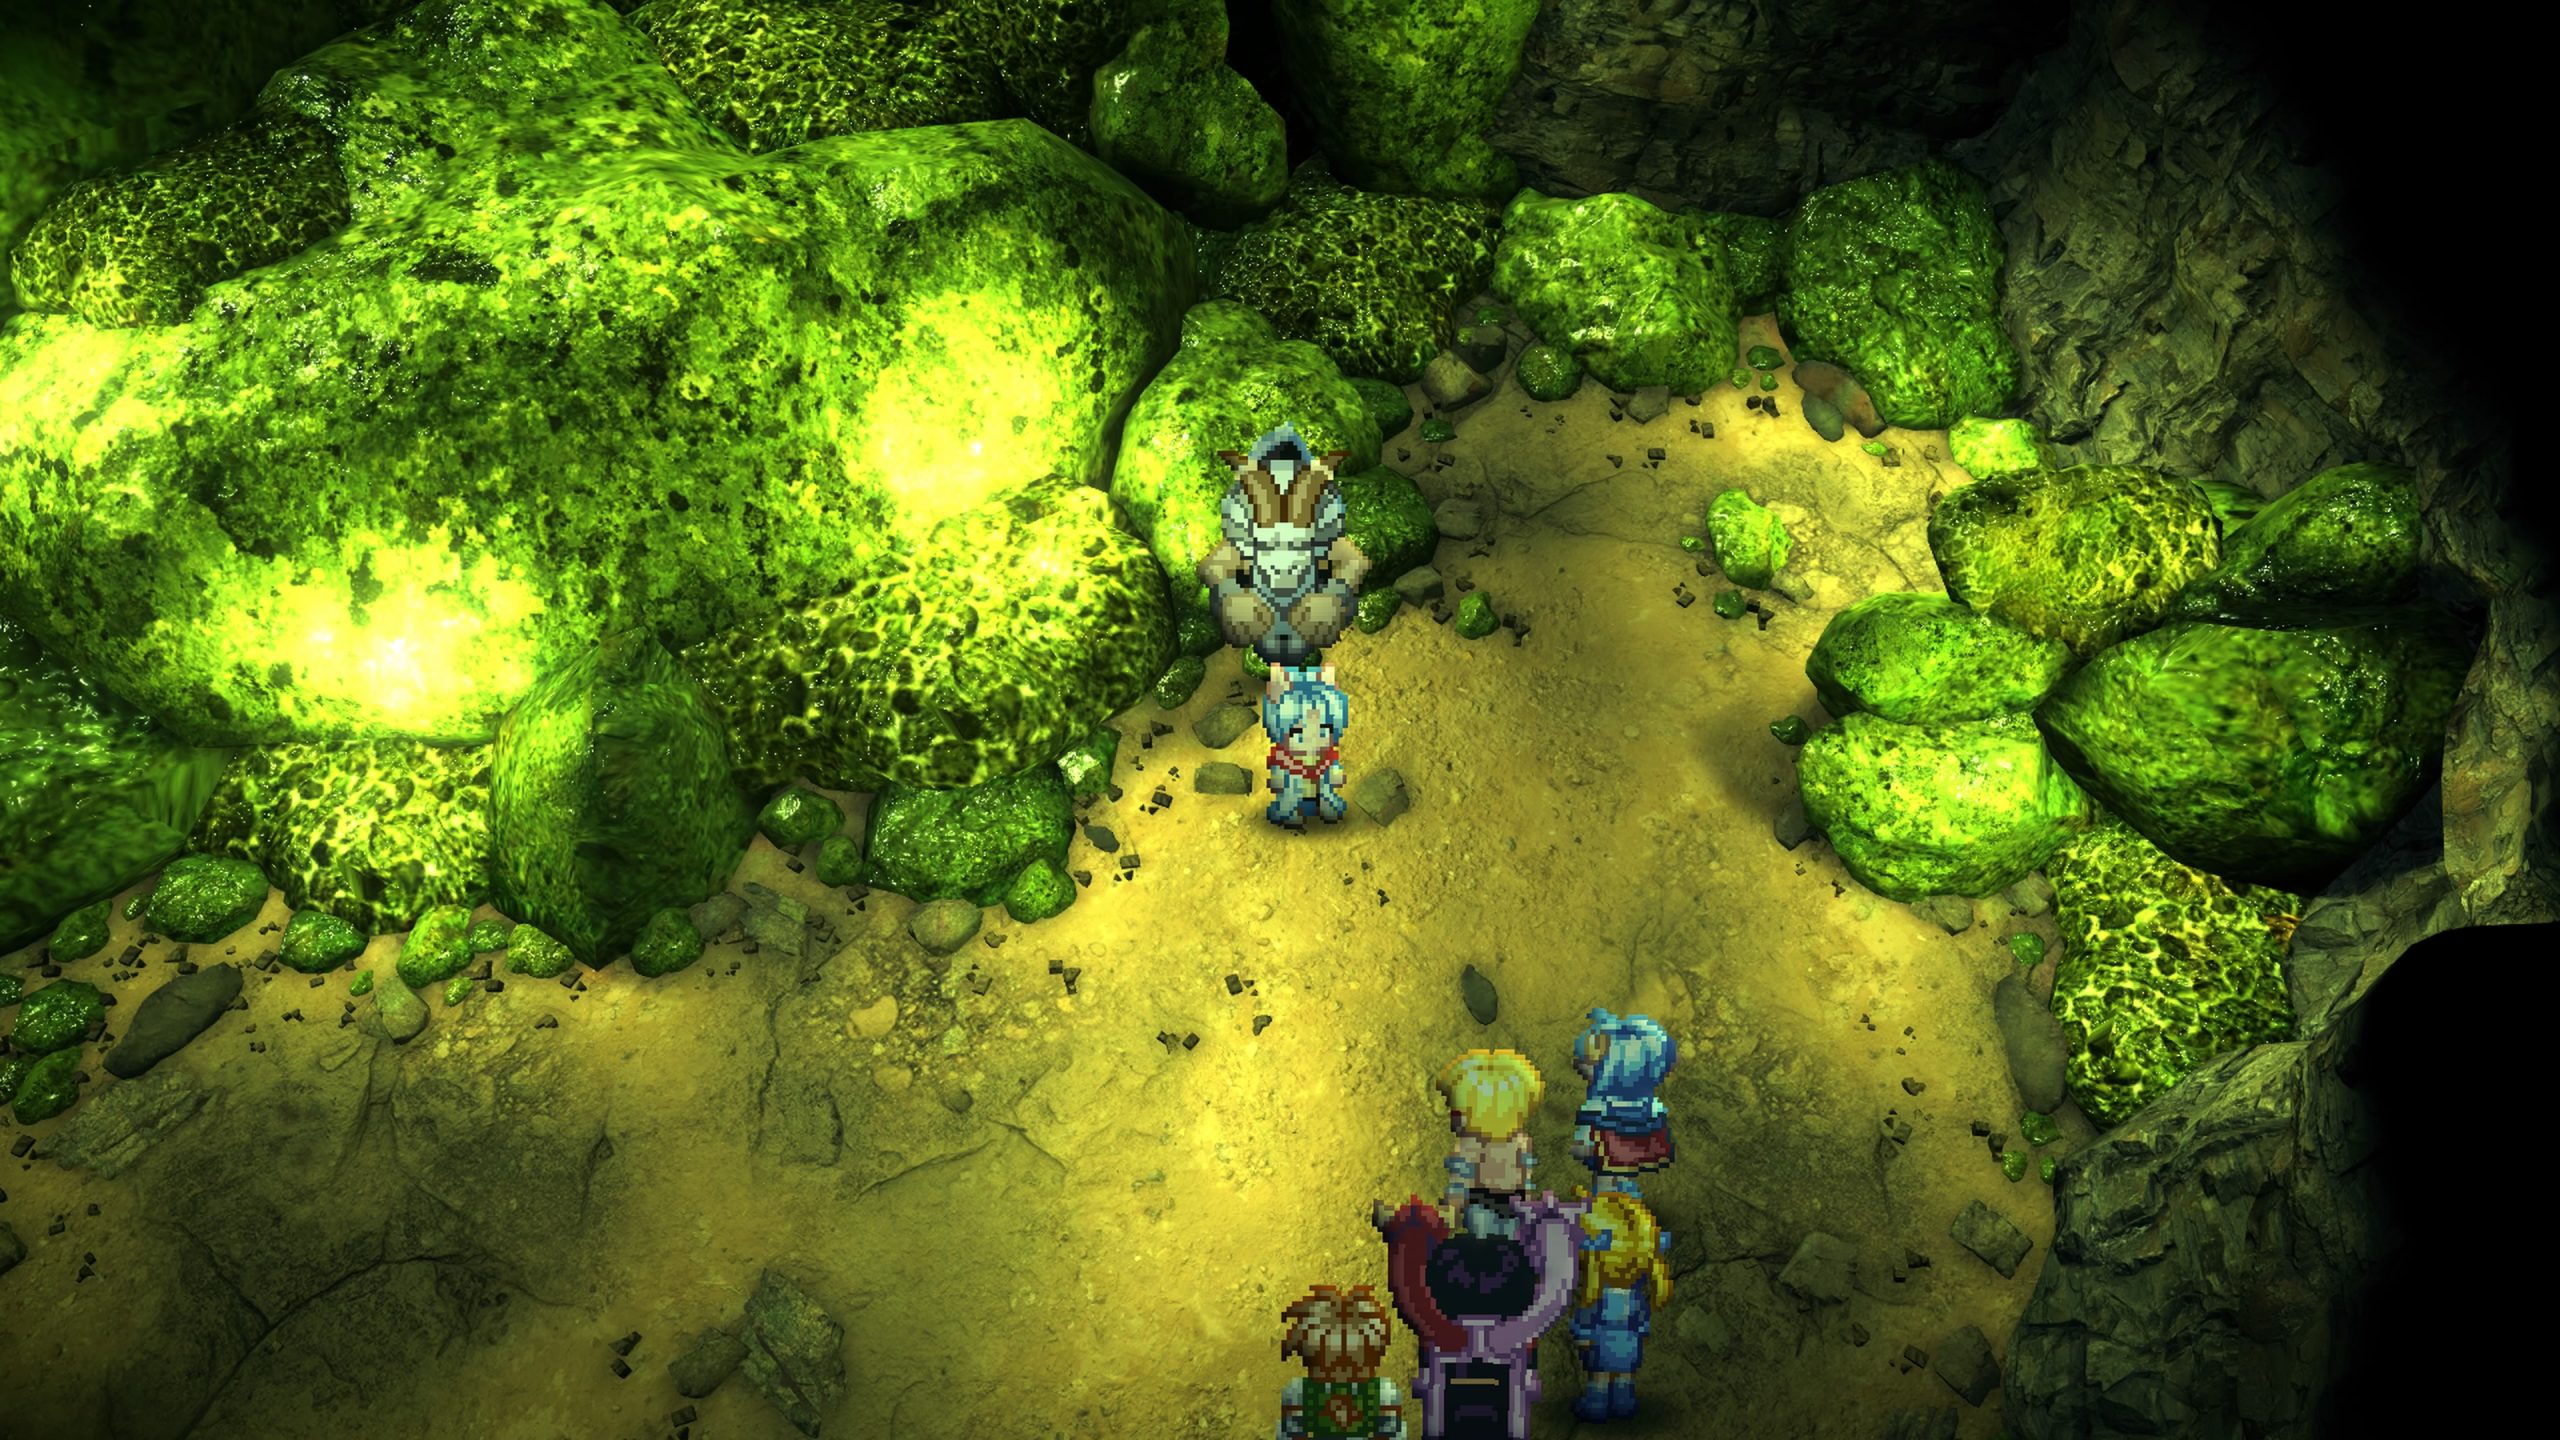
Head back to the switch across from switch 3, press it, and make your way to the save point and heal up. Move towards the ! symbol and watch the cutscene. After a bit of chatting, you’ll get jumped on by the boss, so get ready for yet another pretty straightforward boss battle.
Halfynx Boss Battle
HP:77000 EXP: 8000 Fol: 2000
Elemental Weaknesses: Fire and Wind do 1/2 effect. Darkness and Light are its weaknesses.
Item Drop: Star Ruby
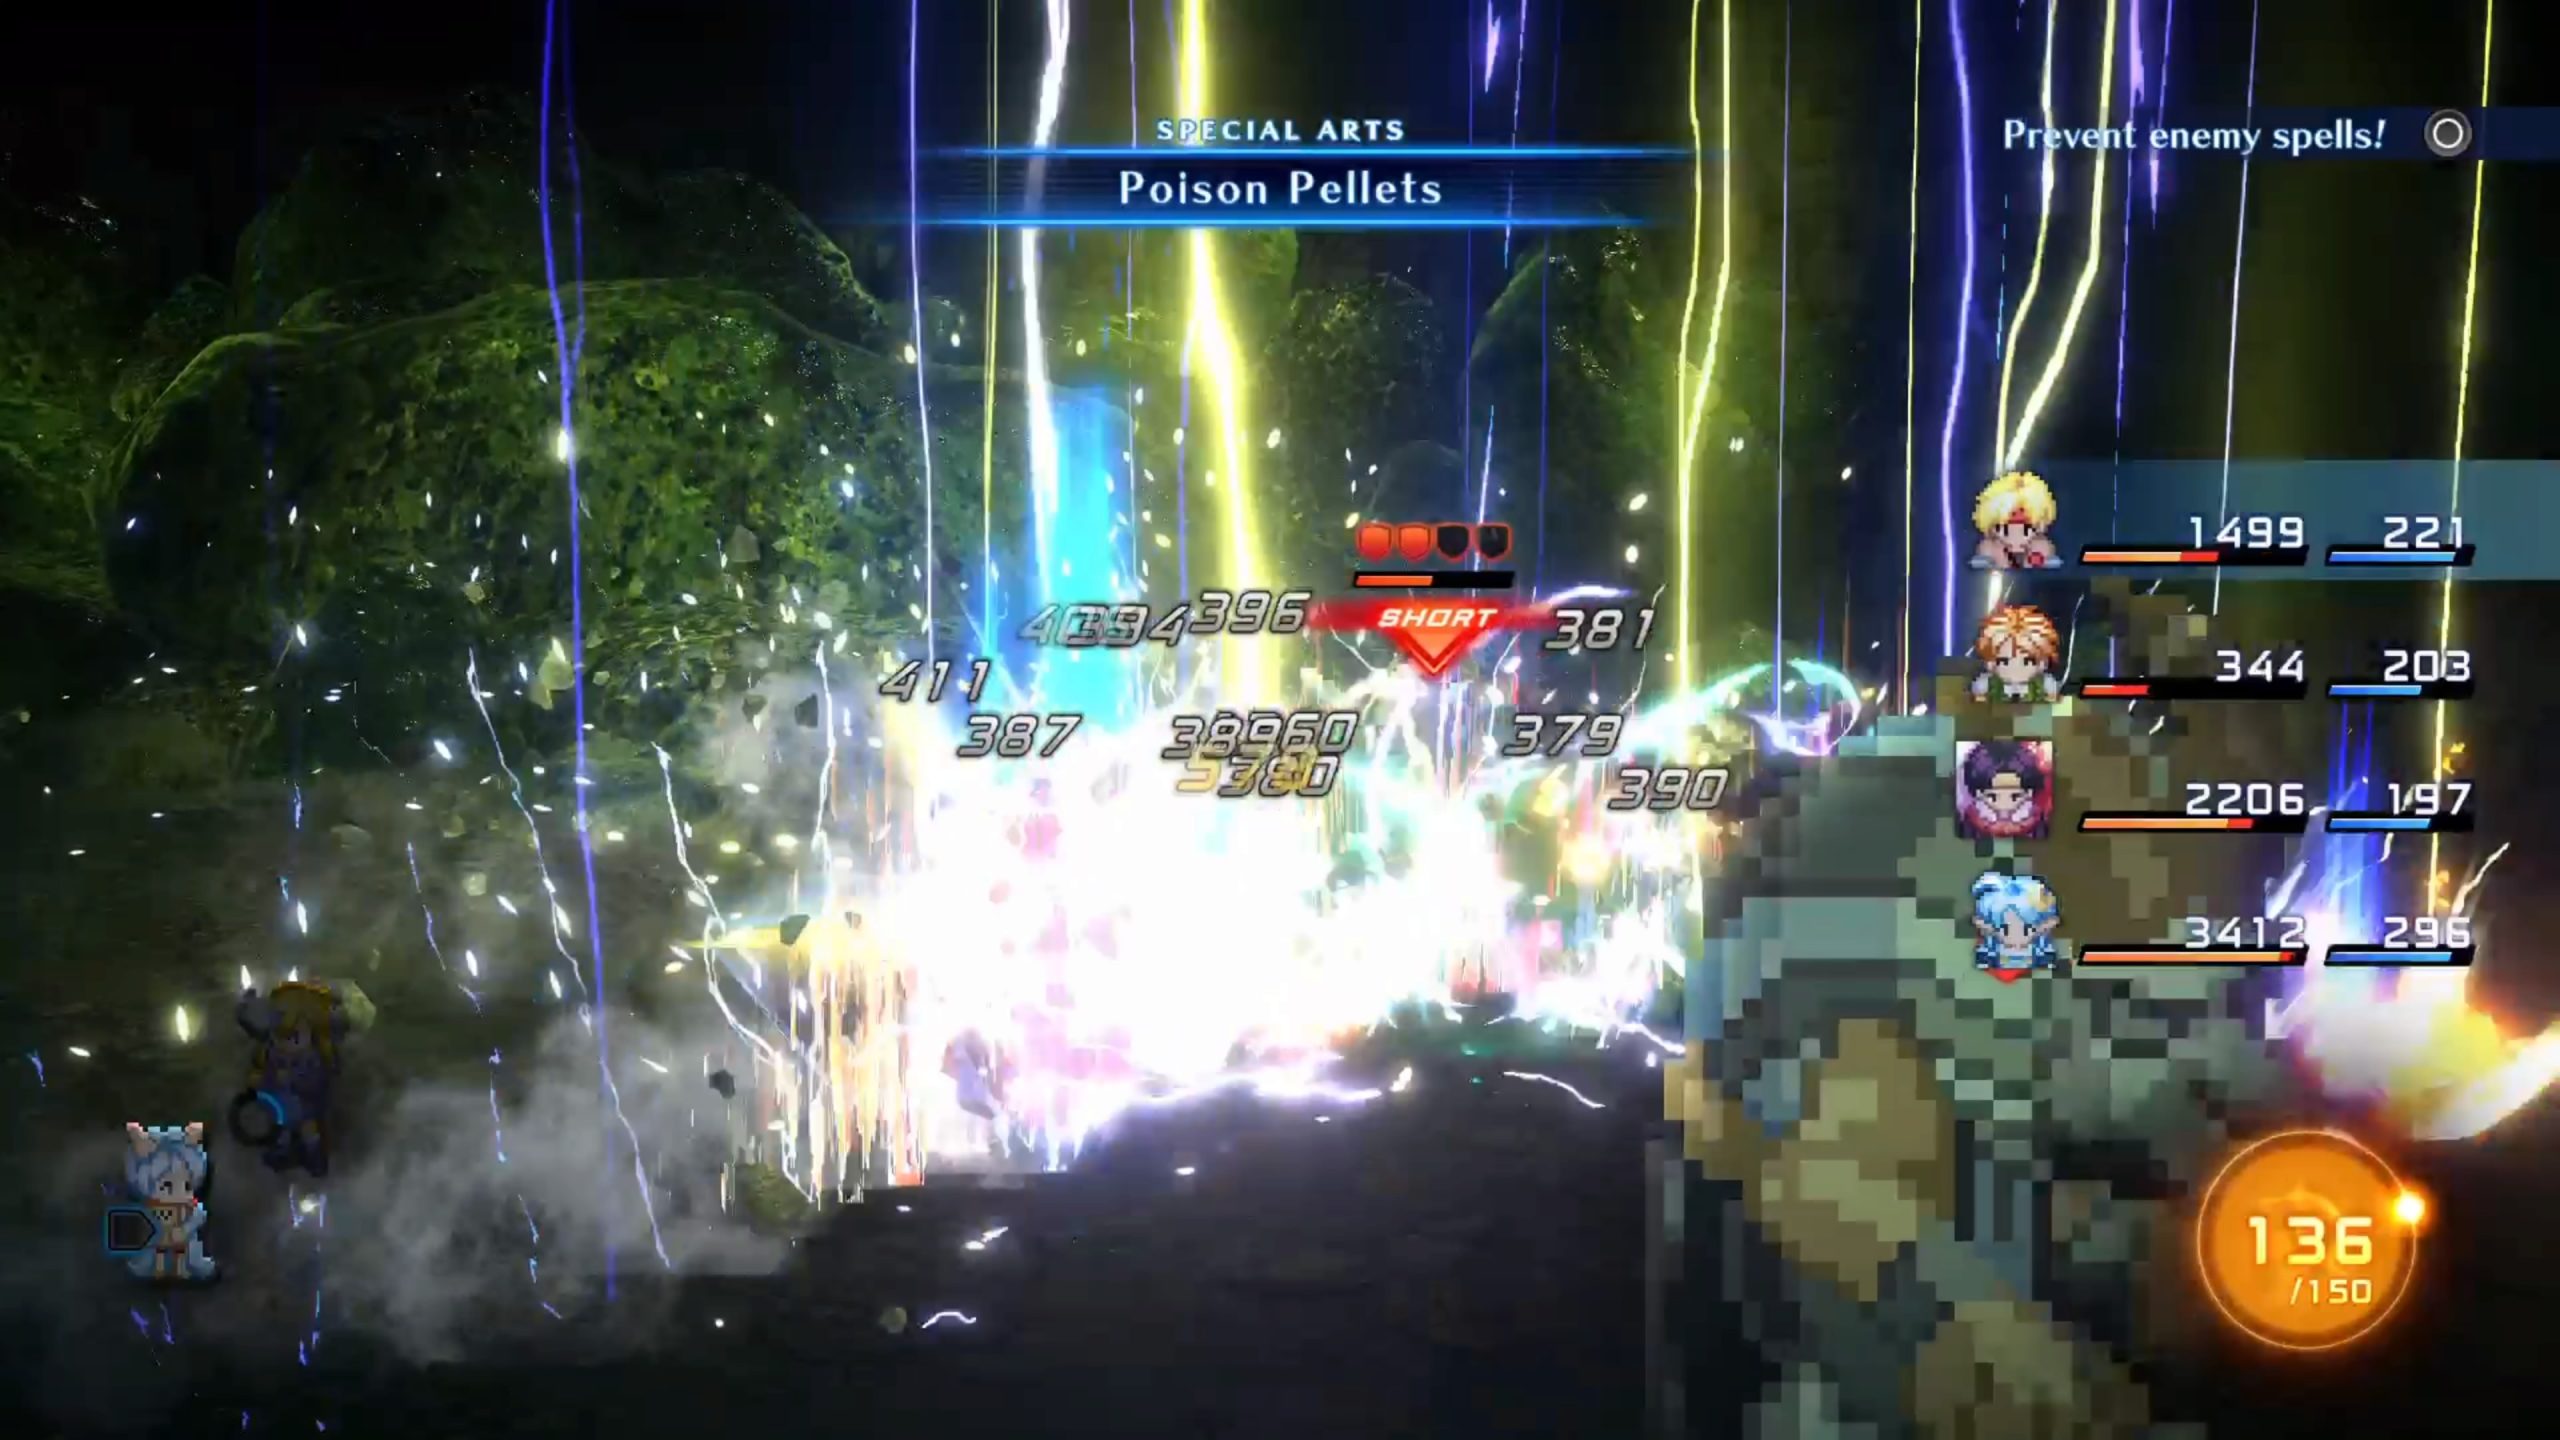
This is another boss battle that has you dealing with leader effects on top of the usual boss battle shenanigans. That said, these guys aren’t too particularly tough, depending on how leveled and well-equipped you are. The biggest threat these bosses possess is the Thunder Storm magic spell. It is a massive AOE that will deal crazy damage to pretty much everyone, so it’s essential to set your team to “Prevent Enemy Spells” as soon as the fight starts.
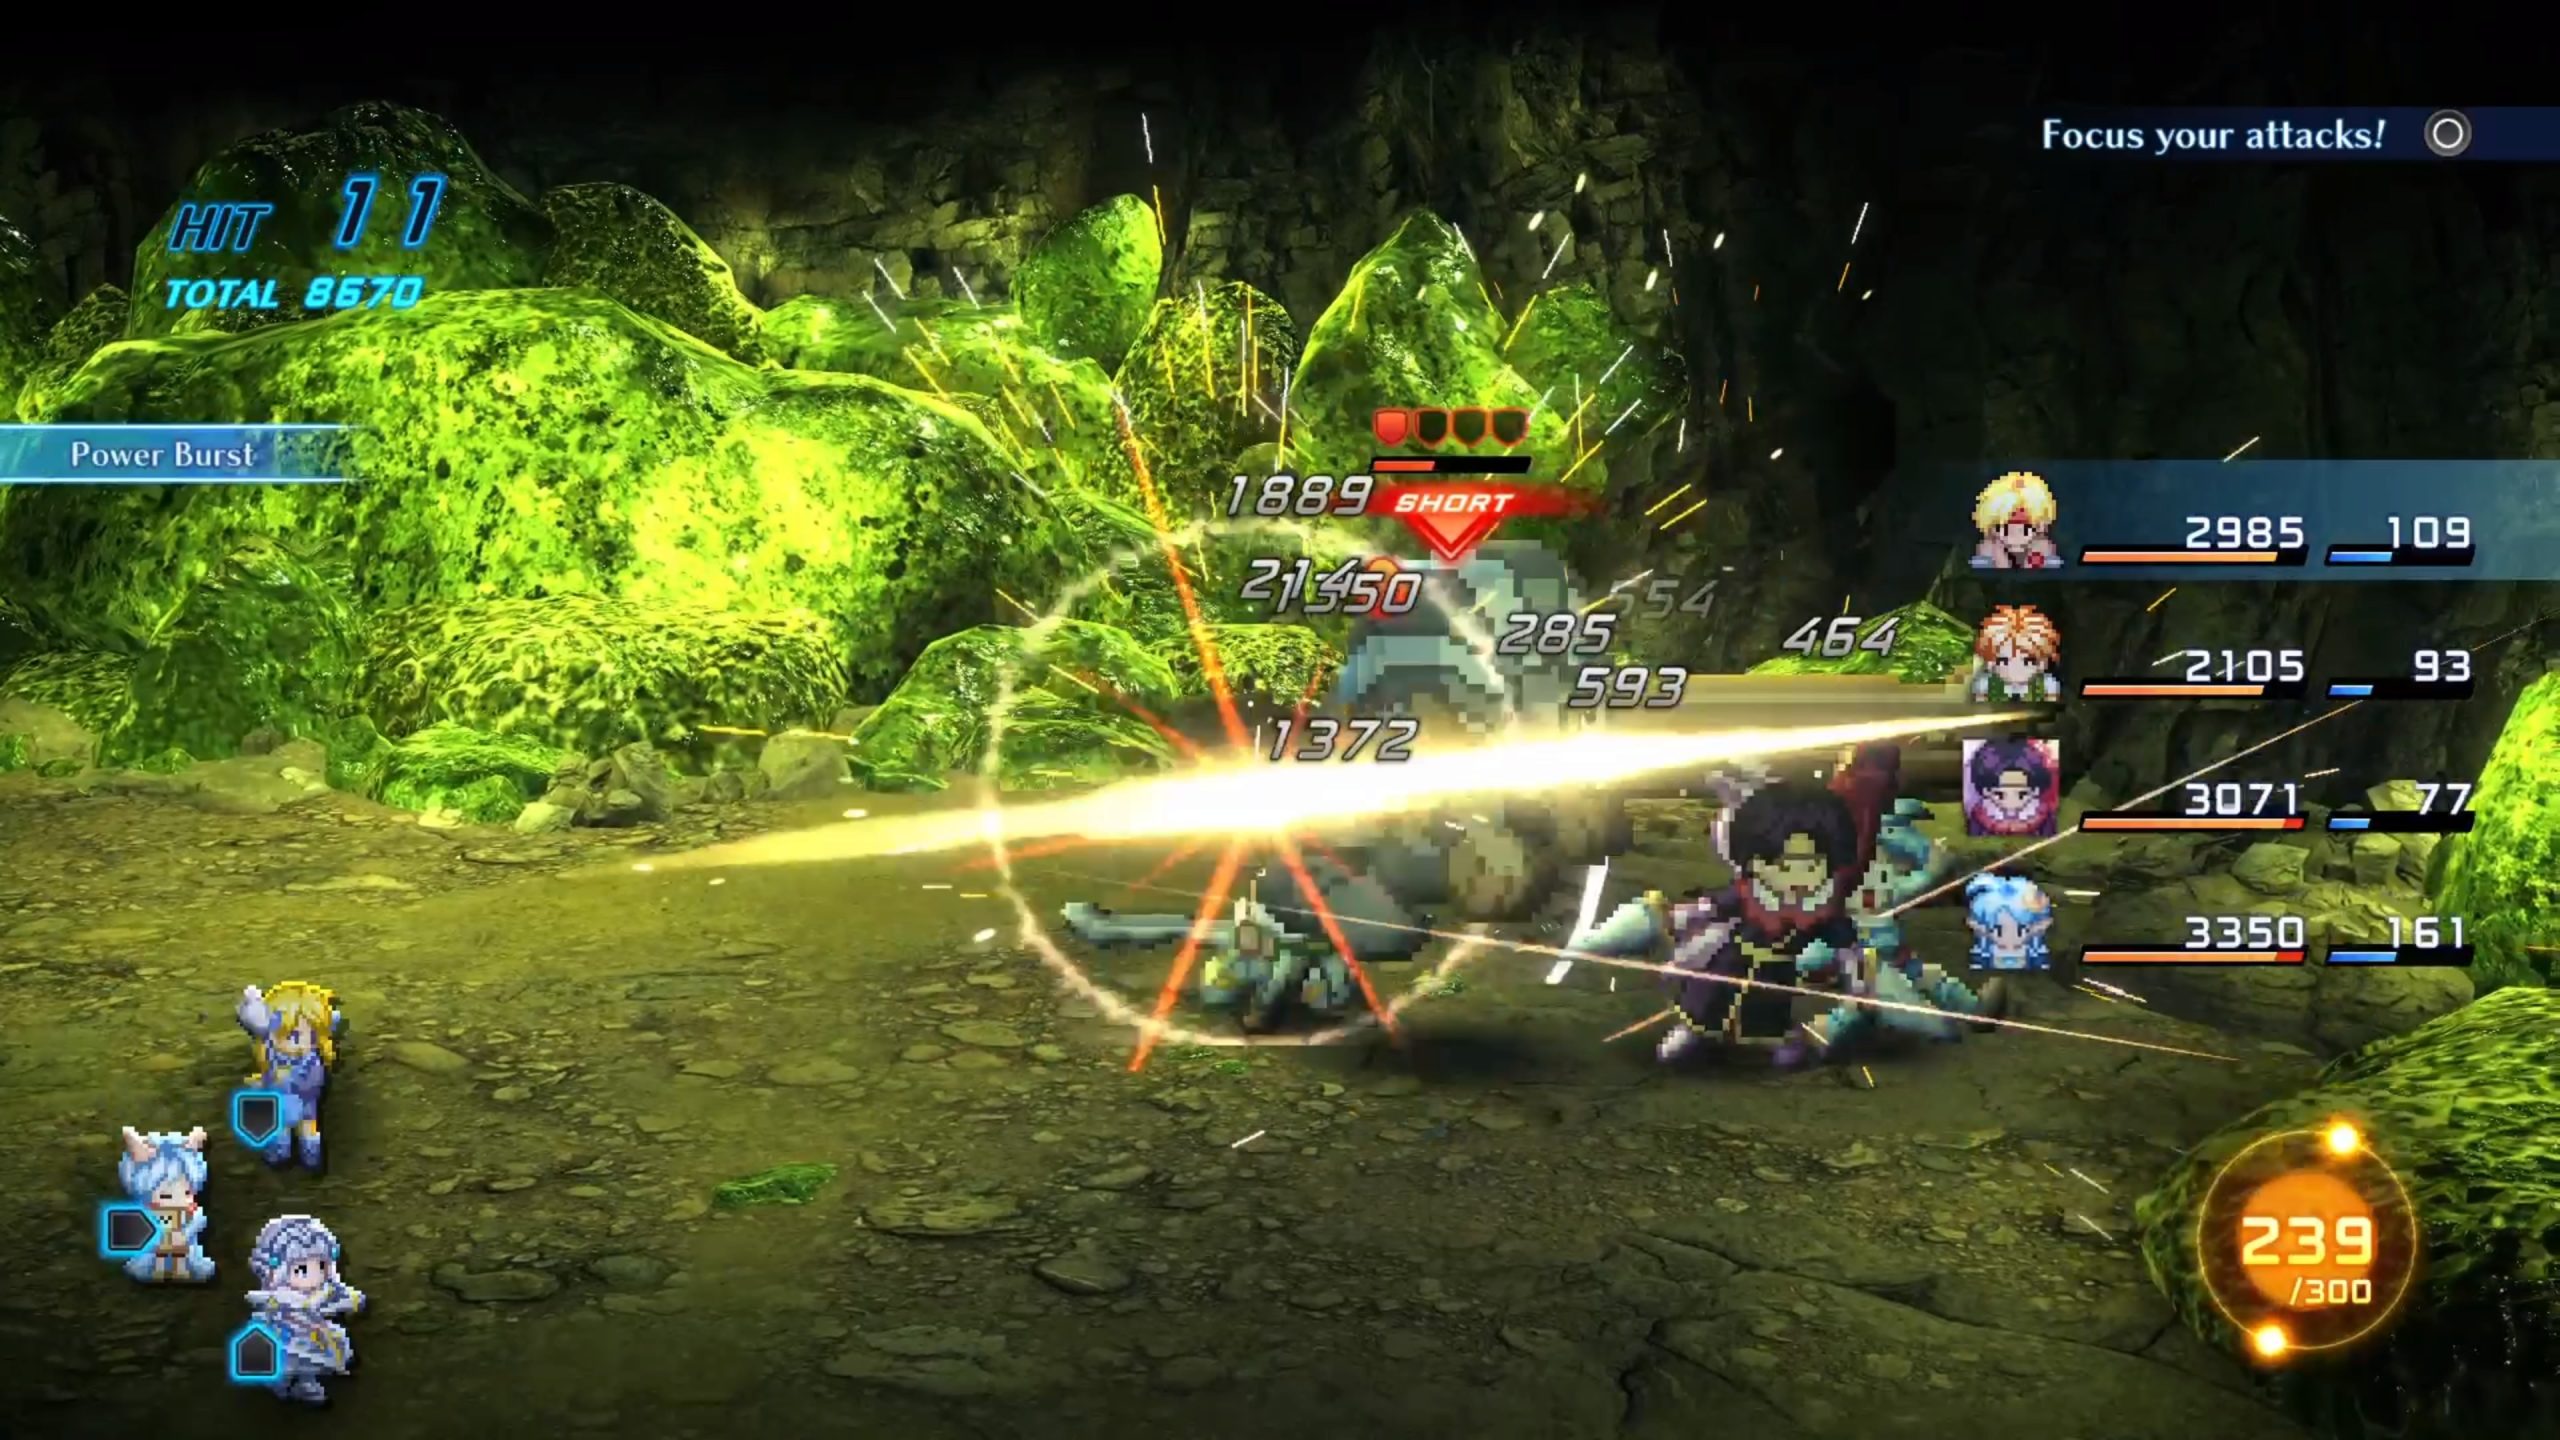
Leon or Celine can actually be extremely useful in this battle since a majority of their magic spells are dark, light, fire, and wind. Just keep Leon or Celine casting their fastest and lowest-costing magic spells that correspond with the enemy’s weakness and watch the health melt away. You’ll want to focus on taking out the smaller enemies first since they can be a pain when you decide to focus on the bigger boss for the coup de grace. After taking them out, switch your team strategy to ” Focus on the Enemy” and take the big one down once and for all.
As long as you focus on keeping your health up and trying to stall or shut down Thunder Storm, this fight should end pretty quickly. After the boss is defeated, fast travel back to the coast, where you can let the guard know you’re ready to head back to Hilton unless you’ve got some fishing you want to get done in this area.
Well, that about does it for our Star Ocean: The Second Story R-Lacuer to Hoffman Ruins Walkthrough. You can check out our Star Ocean The Second Story-R Cleaning up the World Map Walkthrough to continue your adventures!!


